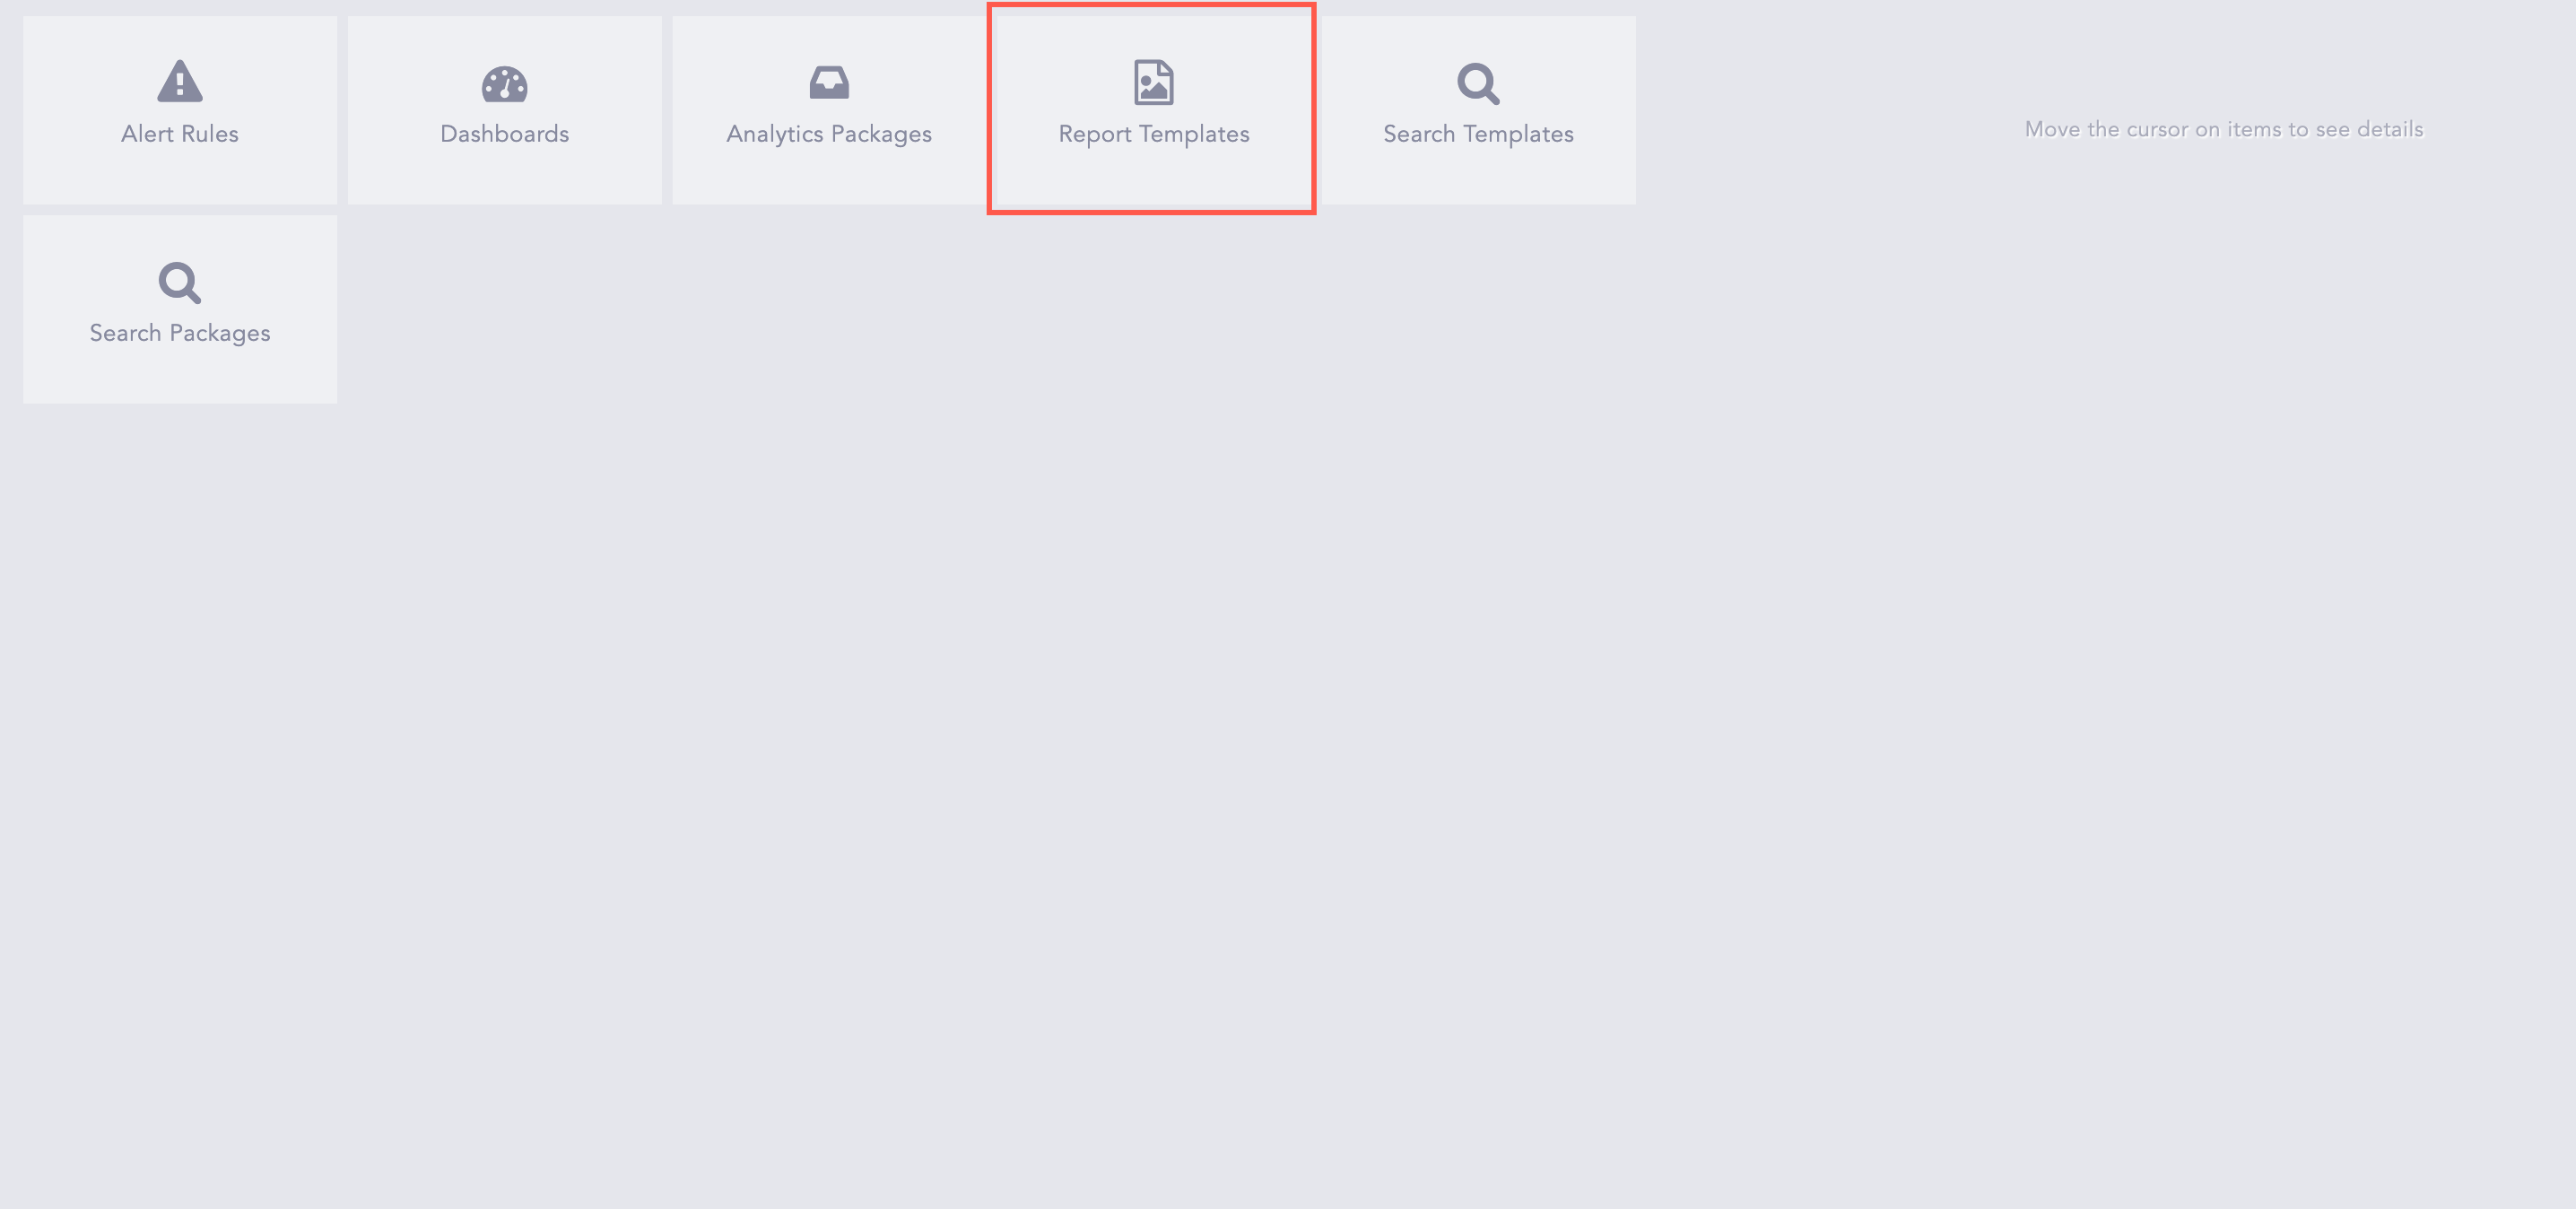
Report Templates allow you to create queries and view their results to track log activities that you are interested in within Logpoint. To create report templates for Fabric-enabled Logpoints, in the navigation bar click Logpoint Configurations and then Report Templates.
Report Templates
The Reporting in LPSM consists of Report Templates and Report Jobs. The Report template allows you to create report templates on behalf of a Fabric-enabled Logpoint. The Report Jobs shows the status of the reports currently being generated.
Go to Settings >> Logpoint Configuration >> Report Templates.
Click Add.

Add Report Template
There are three steps to create a report template.
You must provide a valid query to create a report on behalf of a Fabric-enabled Logpoint. You can create a new query, or use an existing one from search history.
Select the Pool, Logpoint and Logpoint User.
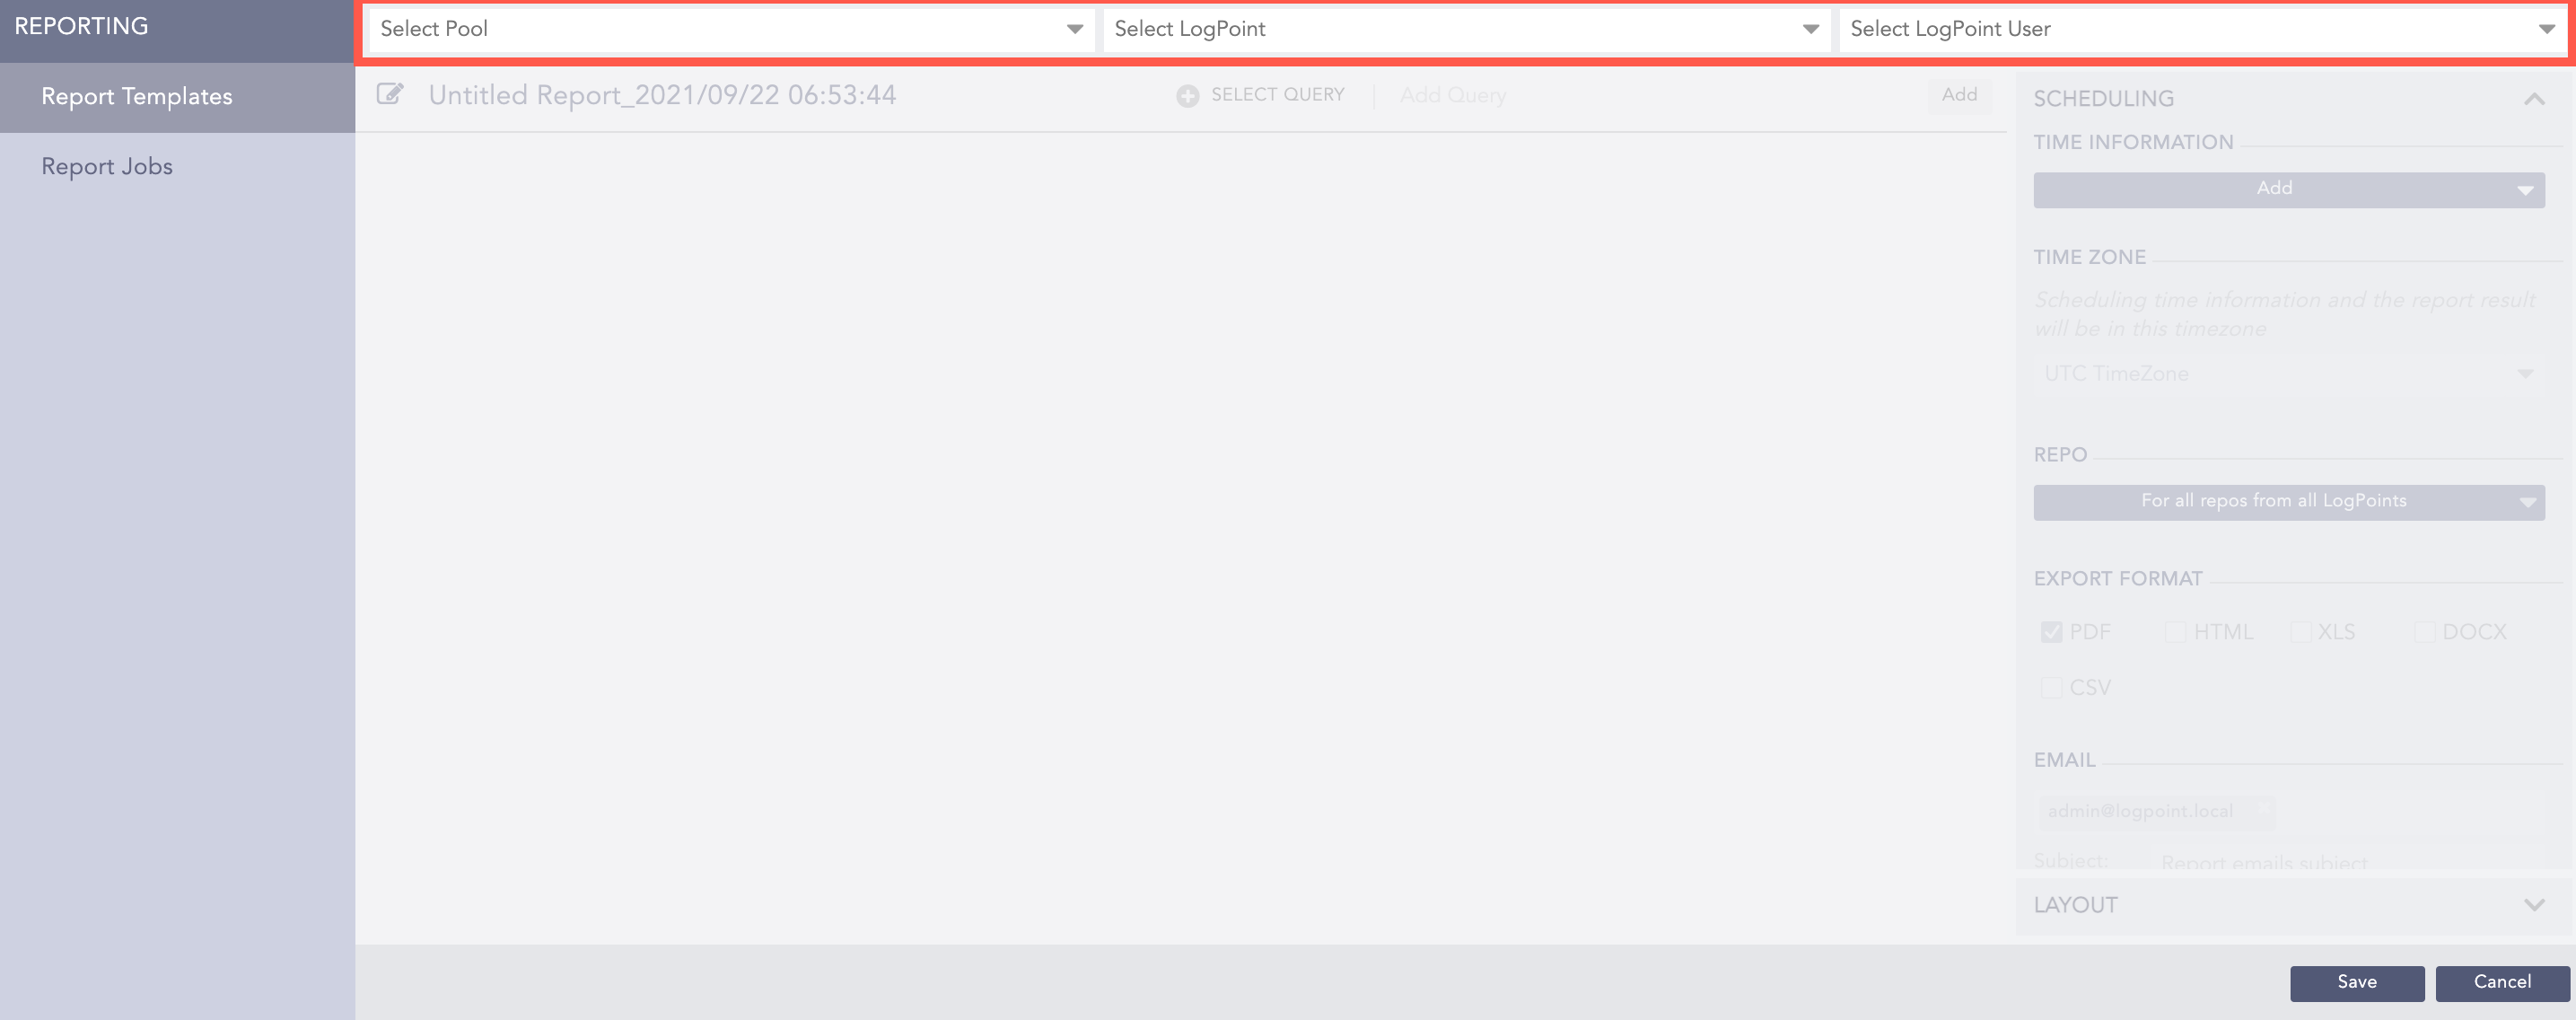
Selecting Pool, Logpoint and Logpoint User
Enter a name for the report template by clicking the Write ( ) icon.
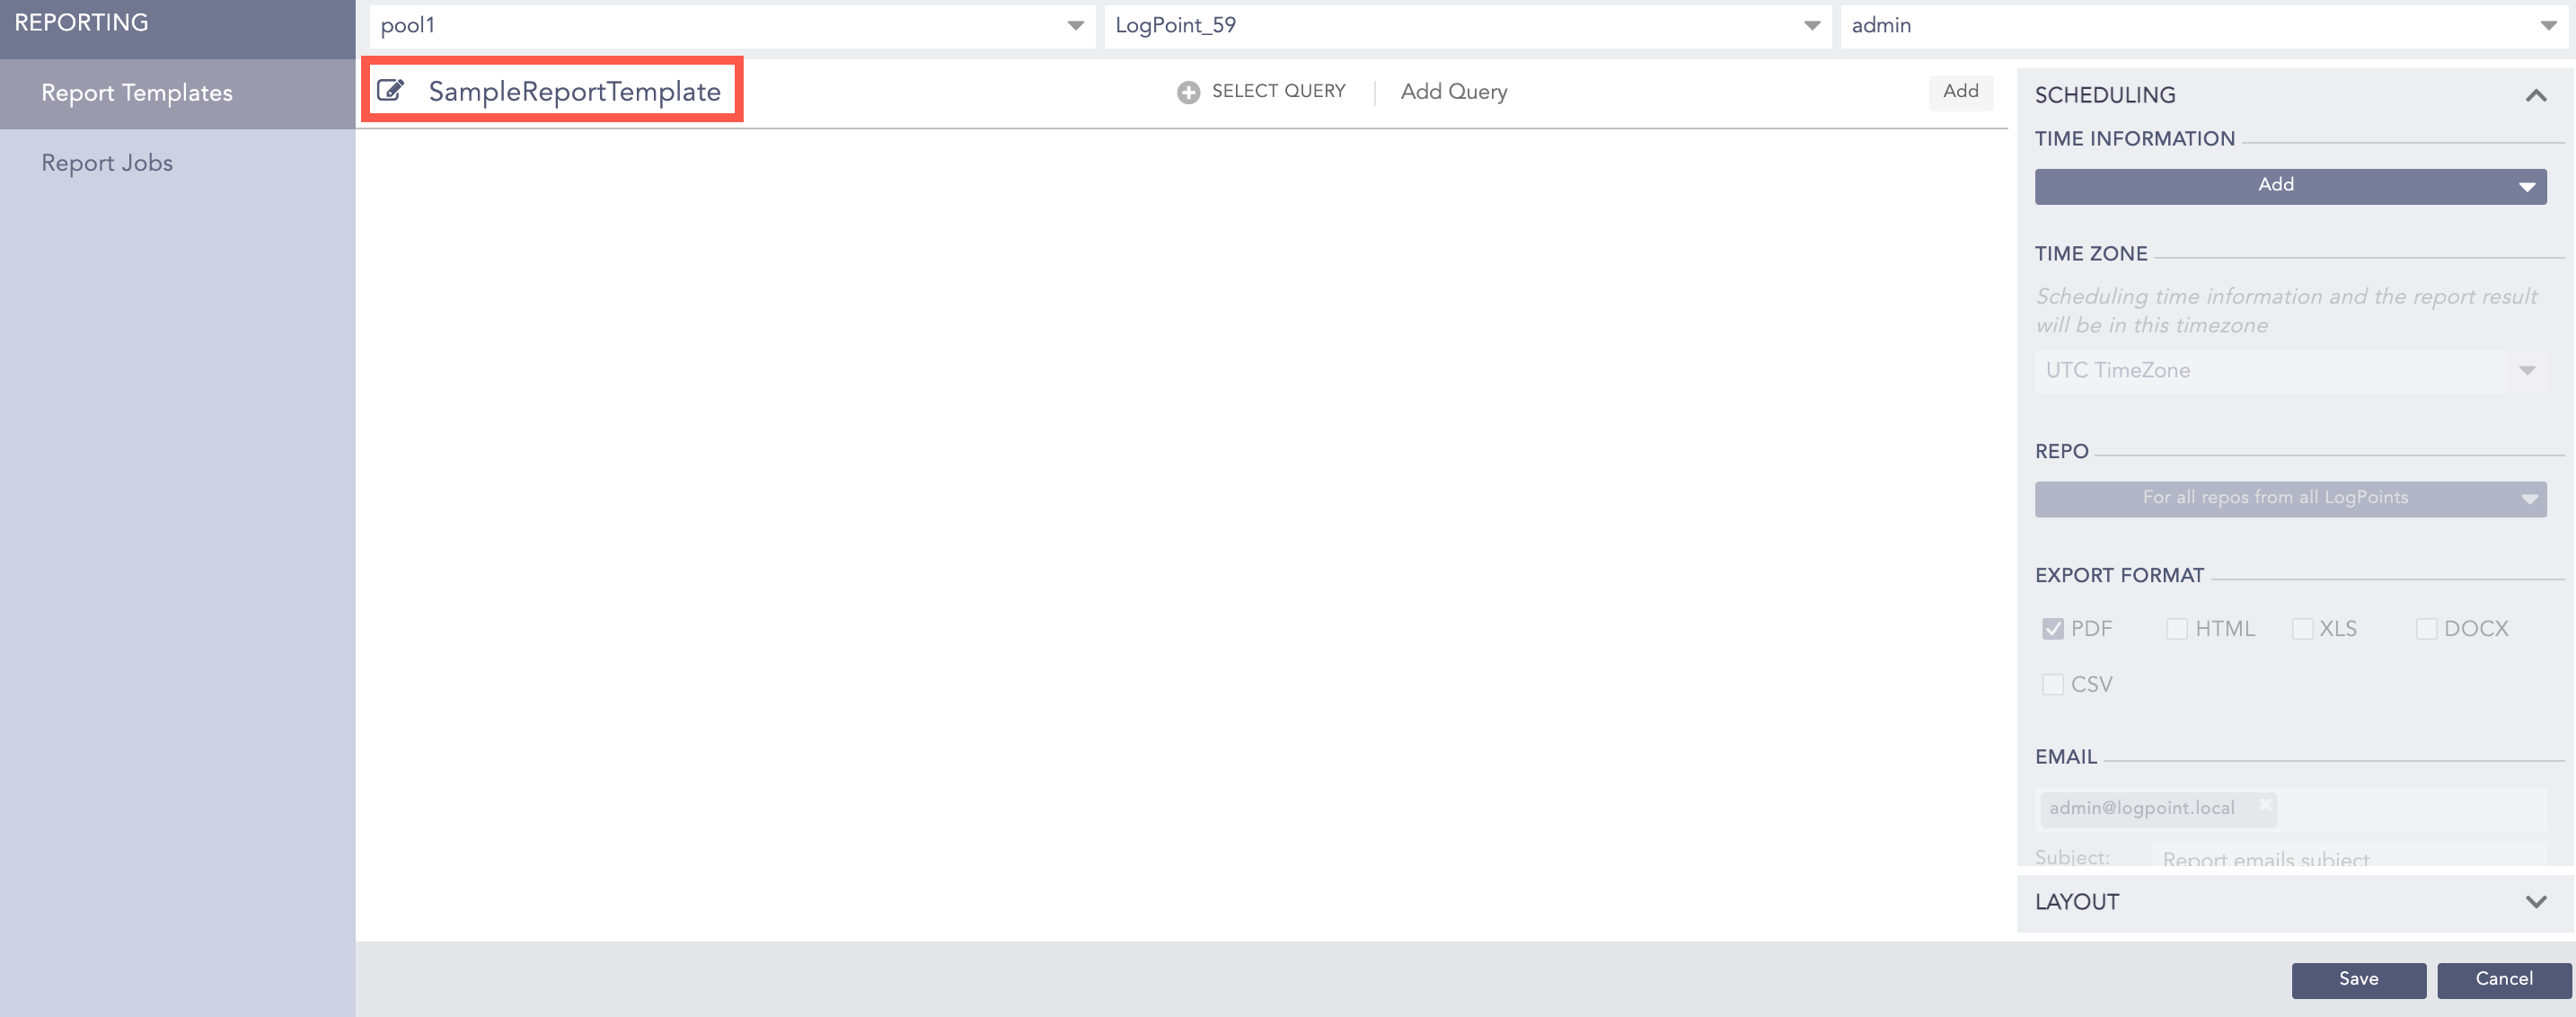
Naming a Report Template
Enter a query in the Add Query field and click Add. Use SELECT QUERY to choose one already setup or created.
Select queries from any of the lists on the ADVANCED QUERY PICKER.
Click Ok.
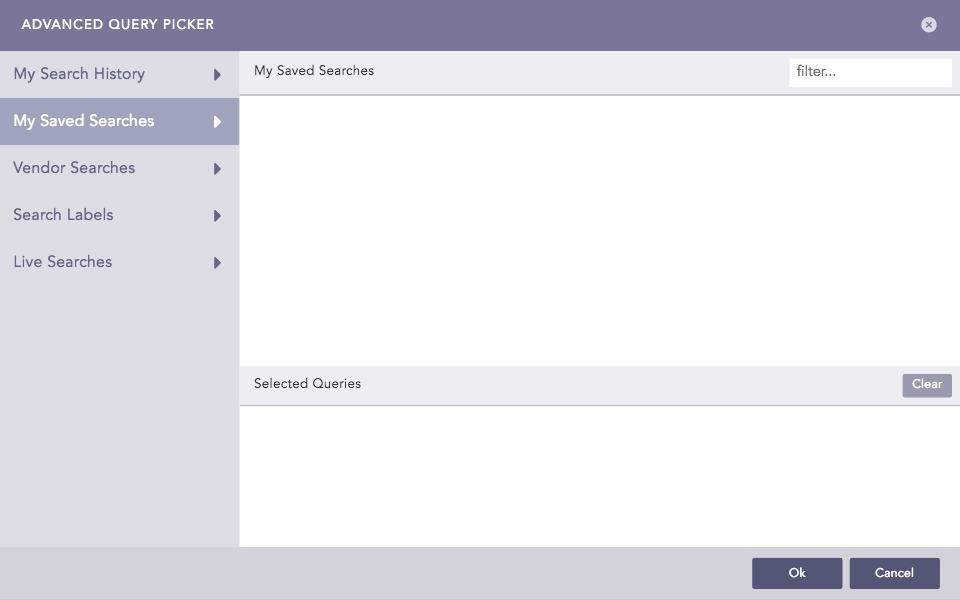
Advanced Query Picker
Note
While generating a report template using Timechart query with grouping parameter(s) having more than 10 values, you get the warning “Can not render chart more than 10 groups. See pdf files in attachment”.
In RENDERING OPTIONS, Enter a query name in Panel Header and select the number of logs in Limit.
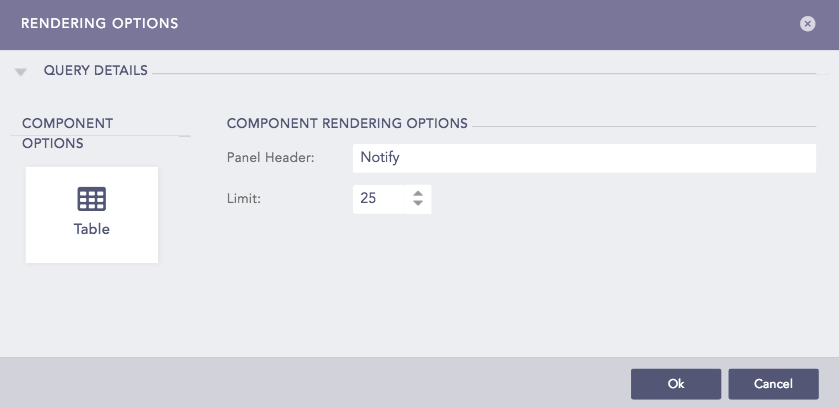
Rendering Options
Note
The Limit field is only applicable for the non-aggregate commands.
Click Ok.
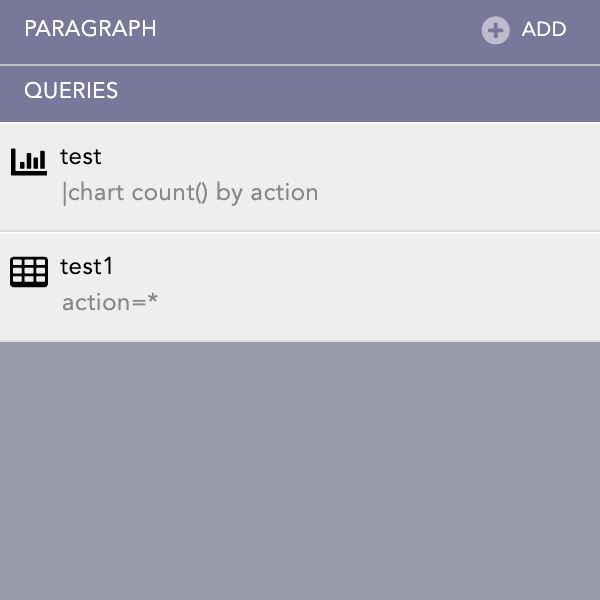
You can add multiple queries in a single report template.
All your queries are listed under selected queries. You can edit or delete them from the Actions column on the right side of each query.
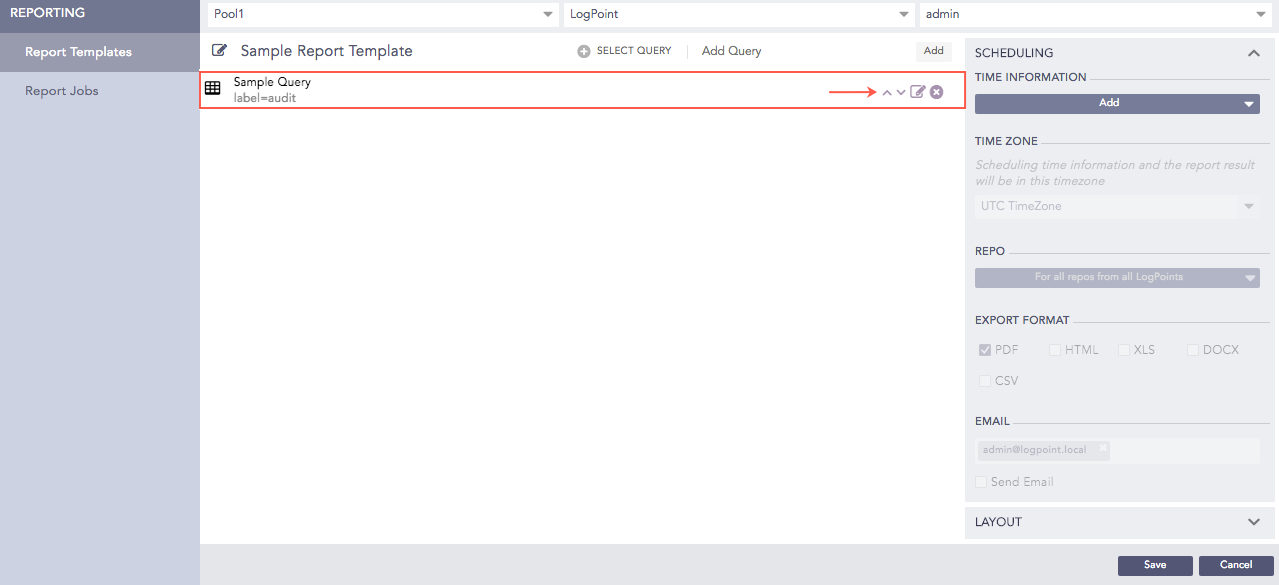
Query List
In Scheduling, you can setup when to automatically generate a report.
Scheduling
Click Add.
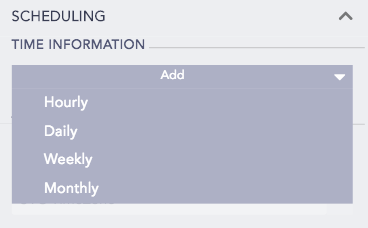
Time Information
In TIME INFORMATION, use Add to select the report’s frequency.
For instance, if you choose Monthly, a link titled Monthly (Last 30 days) on the 1st day, 0th hour gets created. Click the link to open Monthly Scheduling.
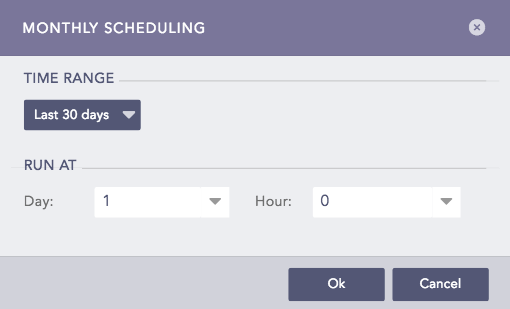
Monthly Scheduling Example
Time Range:
Use the Time Range drop-down to further detail when to generate the reports.
Run At:
You can specify a particular Hour of a particular Day to generate monthly reports, for example. Your scheduling options depend on the report scheduling frequency.
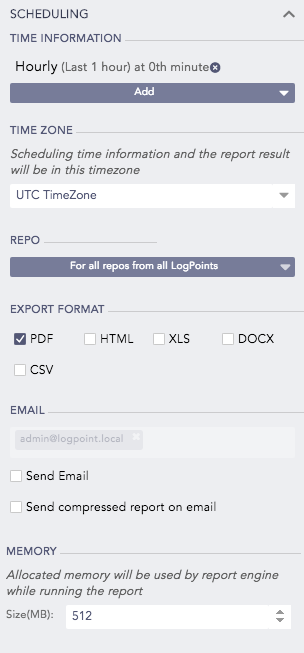
Select the Time Zone for the report generation. The logs get displayed as per the time zone you set.
Select the Repos.
Select the report formats (PDF, HTML, XLS, DOCX, or CSV) from the Export Format tab. You can select more than one report formats.
Select Send email and enter the recipient’s email address.
Select the Send compressed report on email option to get a compressed report on your email.
Note
If you choose the HTML format, the report is generated as a .zip file regardless of the chosen option.
If you choose a Data Privacy Module-enabled Logpoint machine and a user with the Can Request Access privilege in the Query Selection above, you can set options for DATA PRIVACY MODULE.
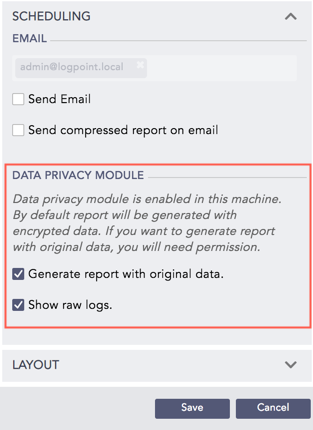
Data Privacy Module
If you deselect Generate report with original data, the report is generated with the encrypted Data Privacy fields. Refer to the Data Privacy Module in Logpoint.
Select Generate report with original data to create a Data Privacy request for generating a report with the original decrypted values.
After selecting Generate report with original data, you get Show raw logs. Select it to create a Data Privacy request for generating a report with raw or decrypted logs.
After Choosing a Layout and clicking Save, a Data Privacy request is sent to the Fabric-enabled Logpoint user with the Can Grant Access permission. The report is scheduled and generated only if the request is granted.
Select the Memory option to specify the memory that the report engine uses while running the report.
You can setup how you want your reports to look.
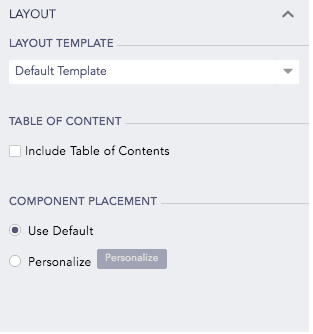
Layout
Select Layout from the Scheduling tab.
Select a Layout Template.
By default, you can choose between Default Template, Minimal Template and templates created by other Fabric-enabled Logpoint users.
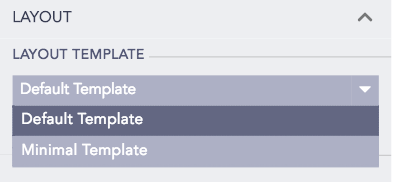
Layout Template
Note
Only a Fabric-enabled Logpoint user can create custom Layout Templates. For more information, go to Logpoint Layout Templates in Logpoint.
Select Include Table of Contents to add a table of contents in the report.
Select Component Placement to control the report’s layout.
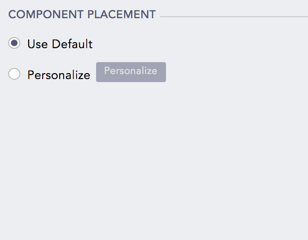
Component Placement
3.1. Select Use Default to automatically use a standard report layout.
3.2. Select Personalize to setup a custom report format. Selecting the Personalize option opens Report Design.
The placement of the components depends on how you configure the layout and components in Report Design.
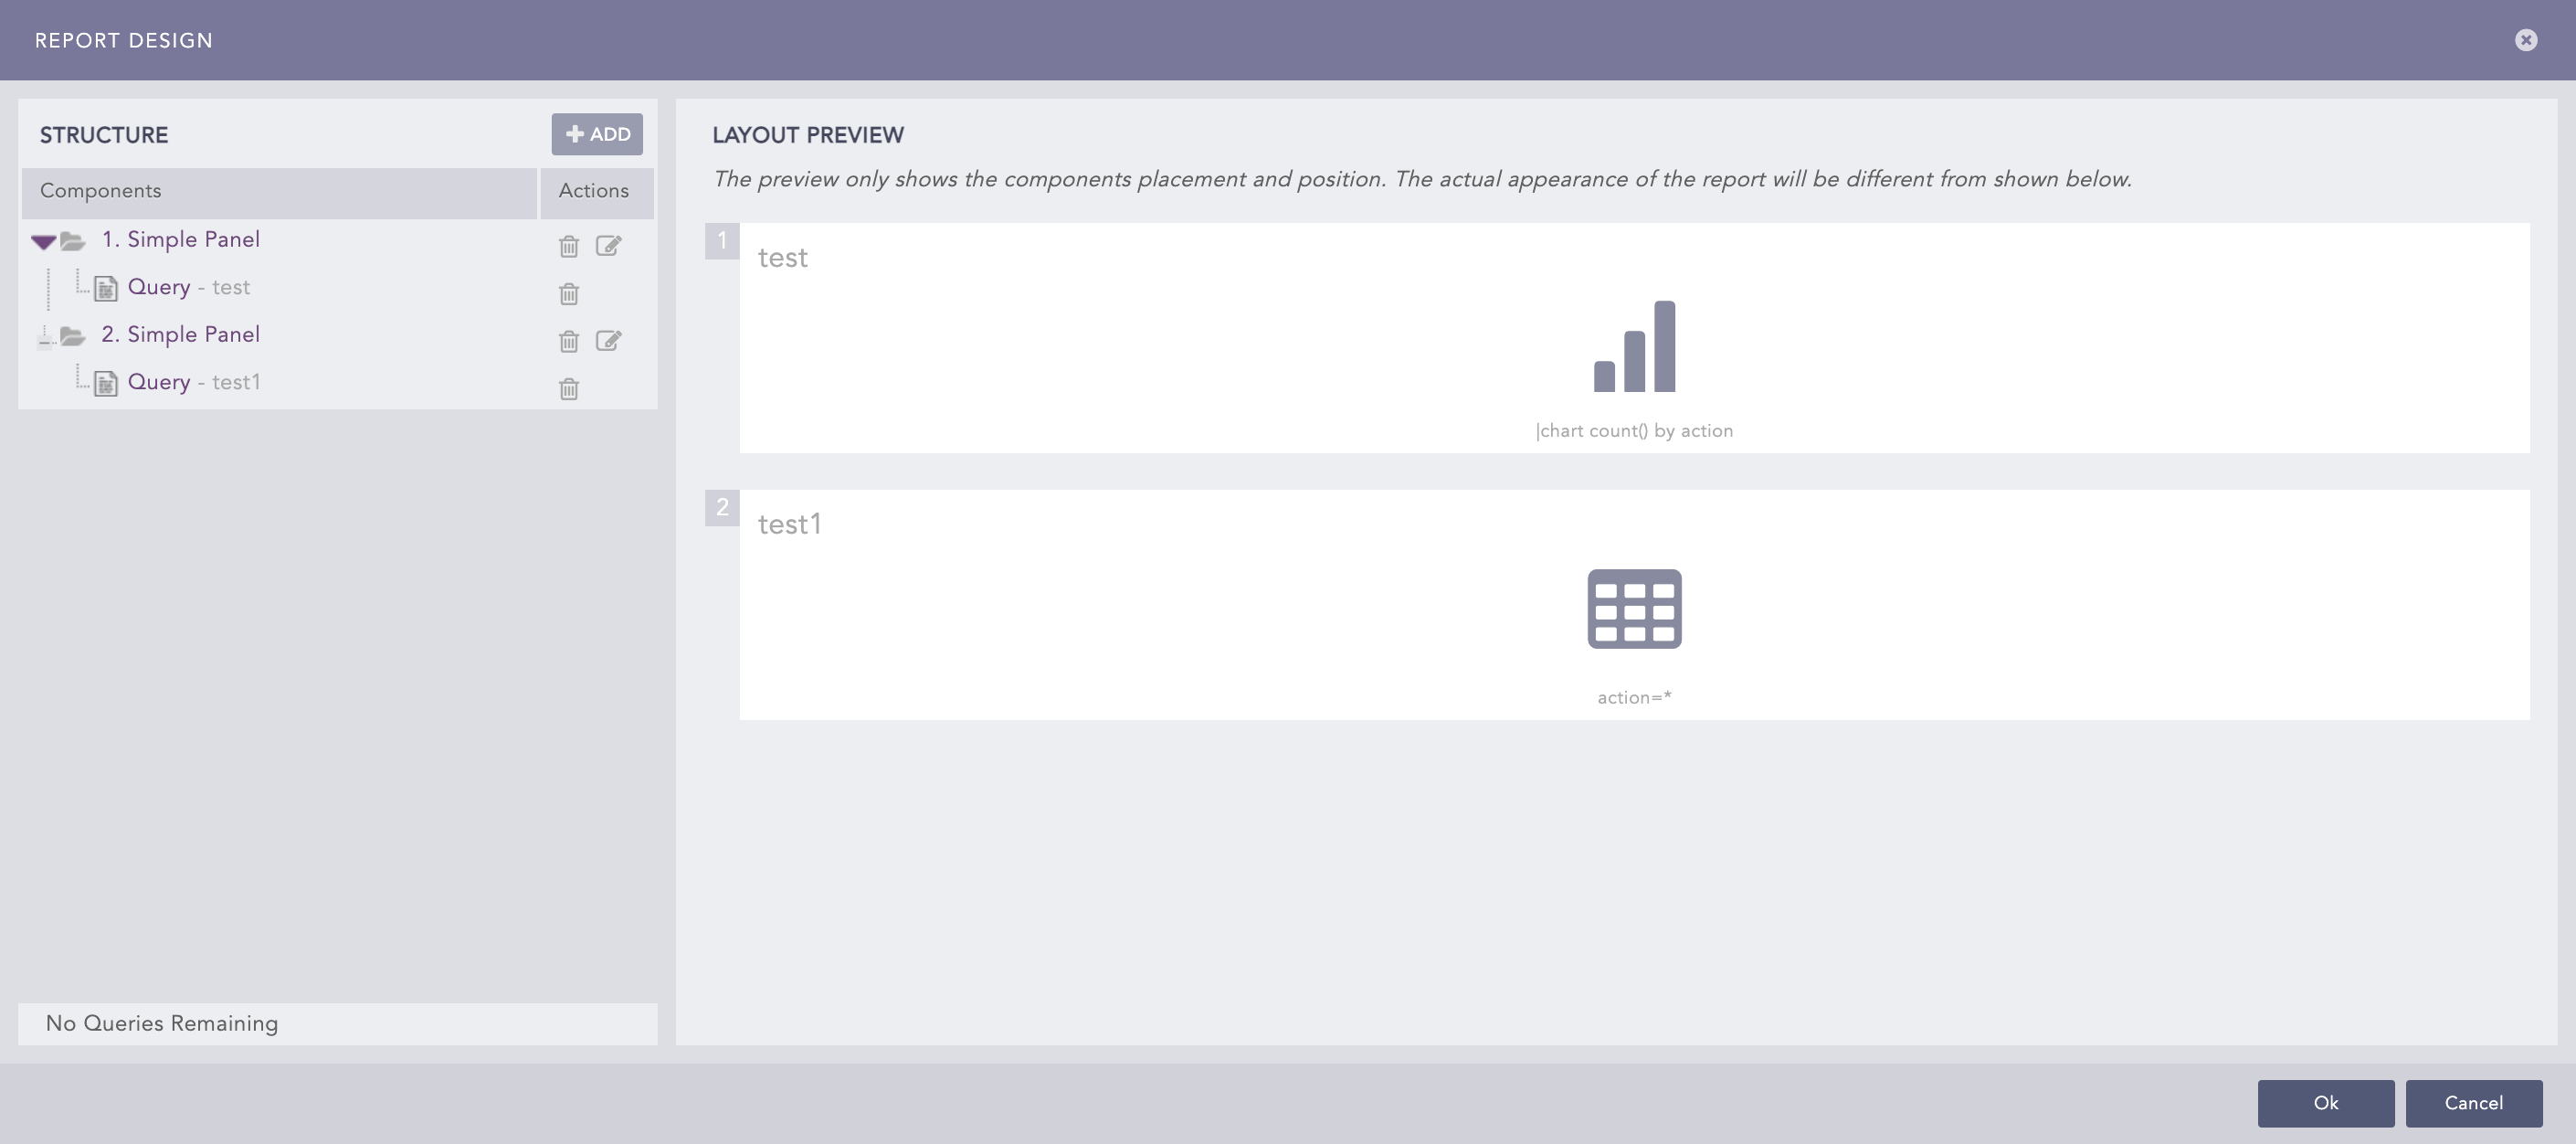
Report Design
Report Design has two parts:
Structure that lists all queries created or used in reports.
Layout Preview to check how the report will look.
All the queries created earlier are listed in Structure and you can preview the layout of your report in the Layout Preview.
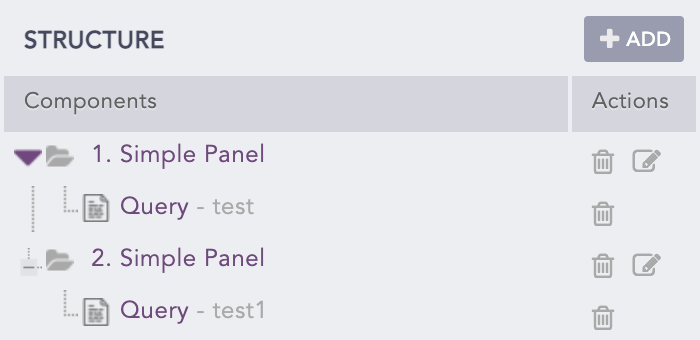
Structure
In Structure, click Add.
Select the component you want to add.
Select a Panel, and enter the Position, Area 1 width and Count.
Select a Header, and enter the Position, Text, Font and Color.
Select a Page Break, and enter the Position.
Note
Panel is the placeholder where you can add the charts generated by the selected queries. You can choose among Simple Panel, Two Panels and Three Panels. Area 1 width is not available for Simple Panel.
Header is the heading. You can choose among Header 1, Header 2 and Header 3.
Page Break is a break to end a page without filling it with other components.
The added components appear in Components.
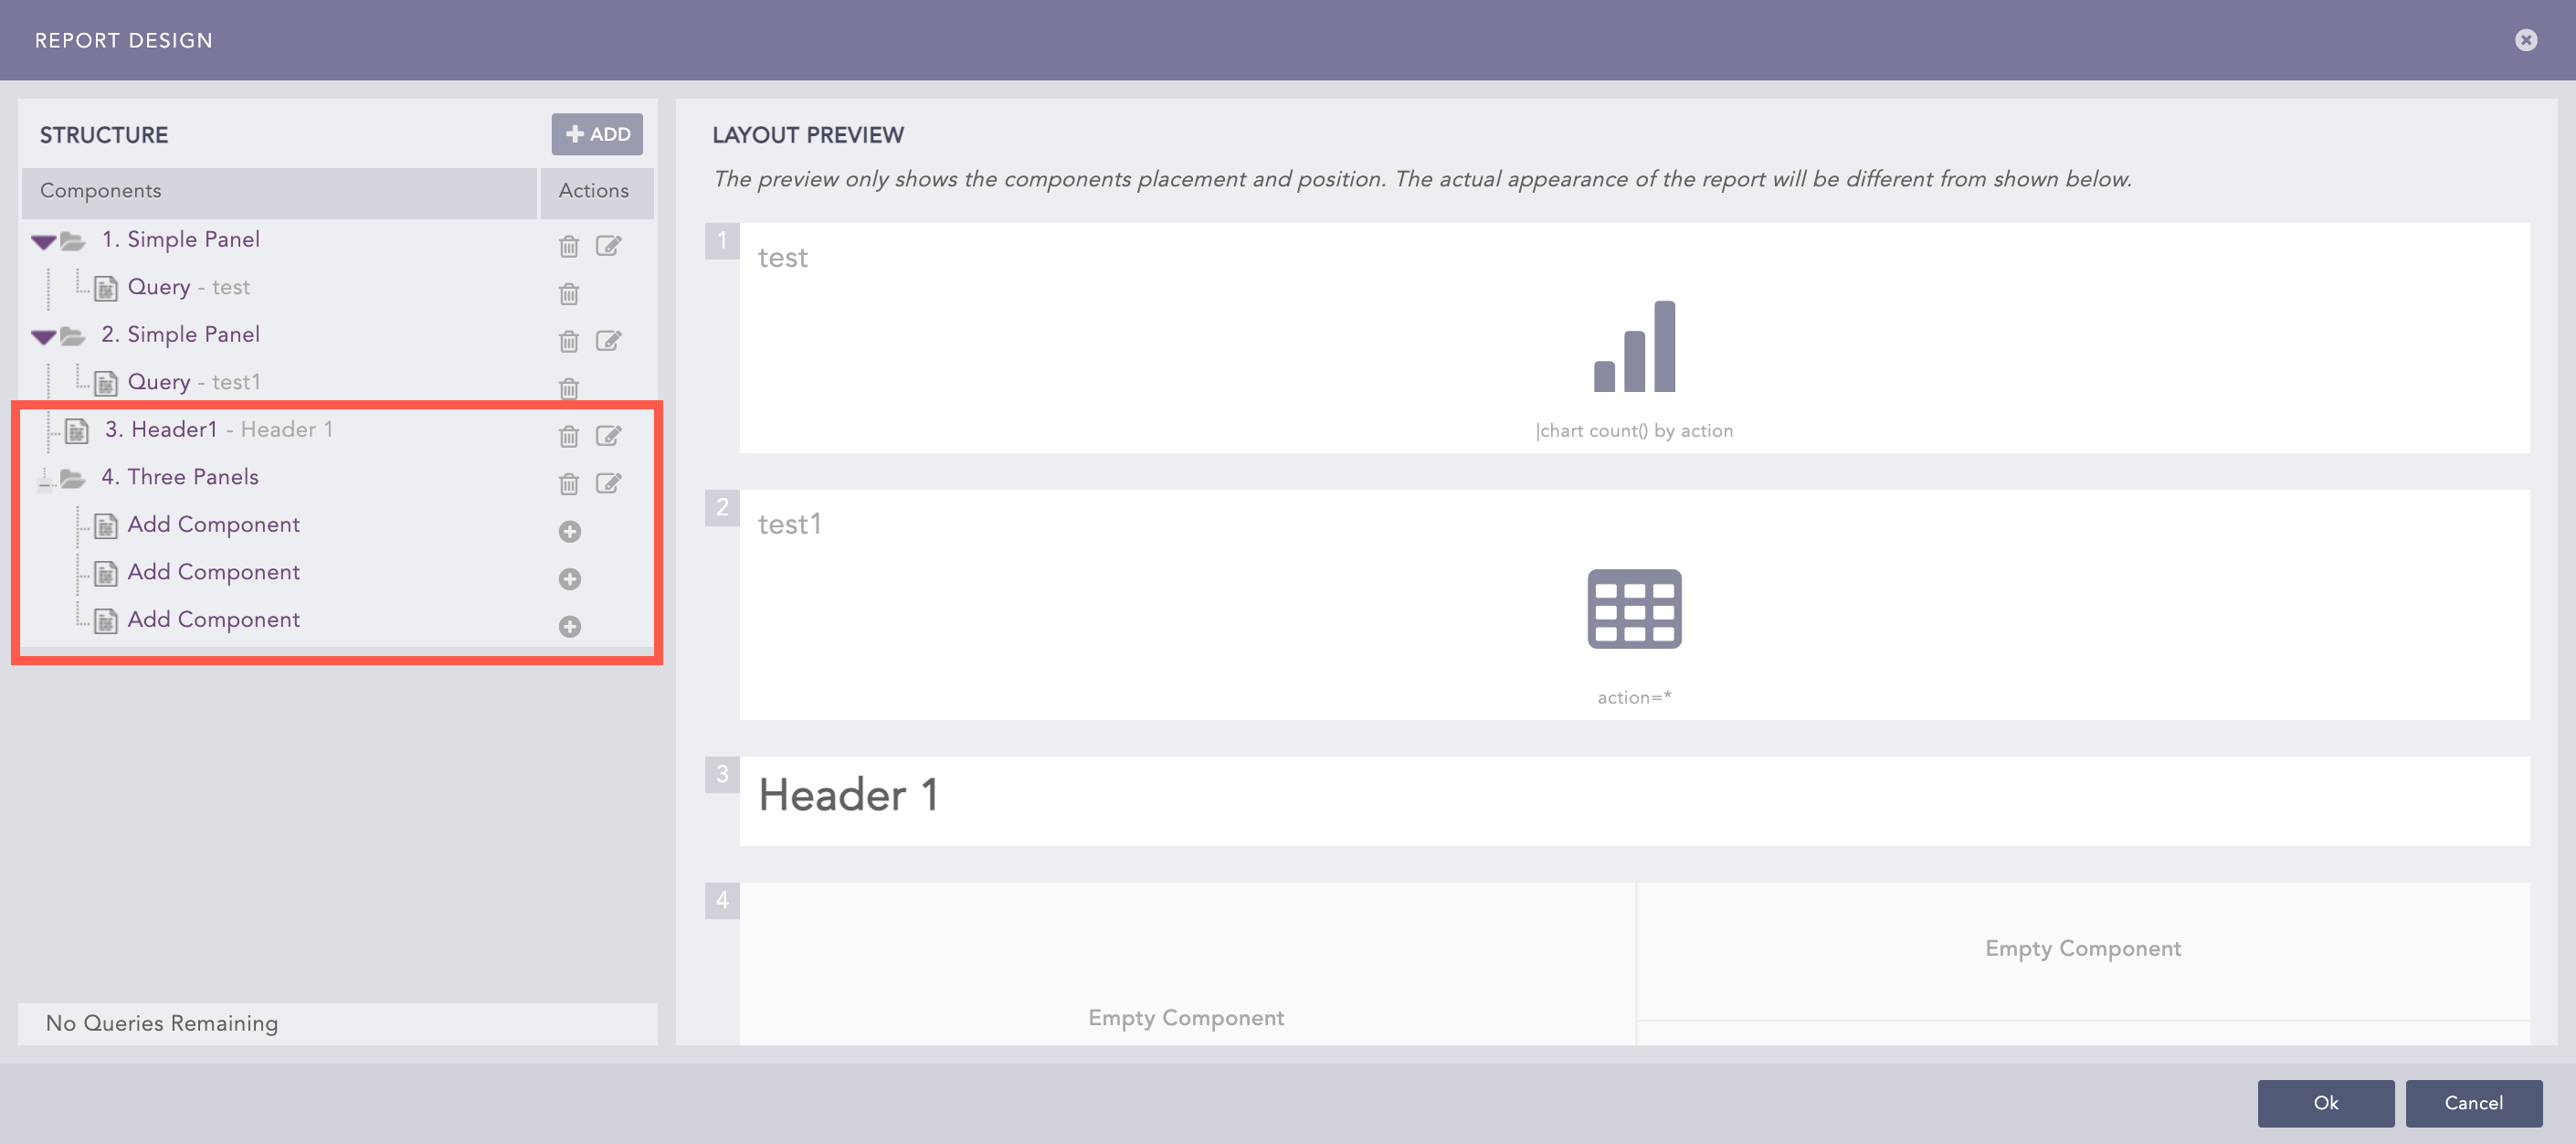
Added Components
Click Add Component to add a query or paragraph to the template.
Add Paragraph or Queries
Select a query from the Queries or click the Add button from the Paragraph. Enter the Text, Font and Color to add a paragraph.
Note
Only the queries that have not been added to the Layout Preview are listed in the Queries.
You can add as many panels, headers, and paragraphs. However, you can add a single query only once. You can edit or delete the components by clicking on the respective buttons.
Click Ok.
You can send a Report Template from one Logpoint or User to another.
Go to Settings >> Logpoint Configuration >> Report Templates.
Select the report templates and click PUSH.

Push
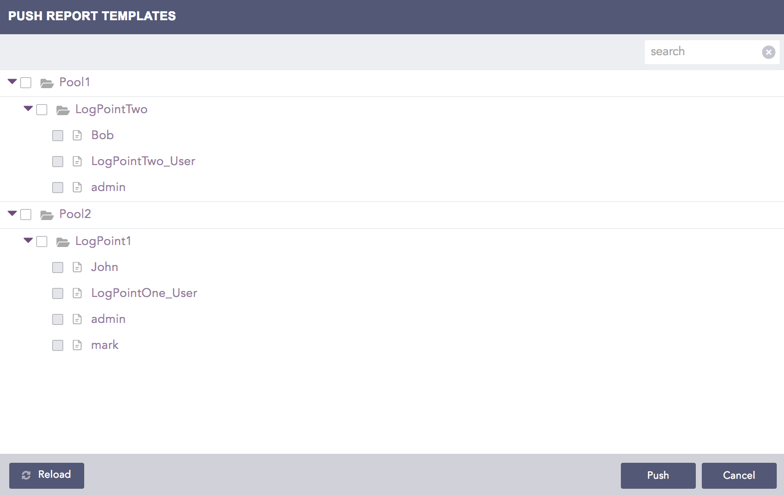
Push Report Templates
Note
You cannot push a report template to yourself.
Select the Pool, Logpoint, or user where you want to push the selected report templates.
Click Push.
Push History
You can click the Push History ( ) button to check the push history.
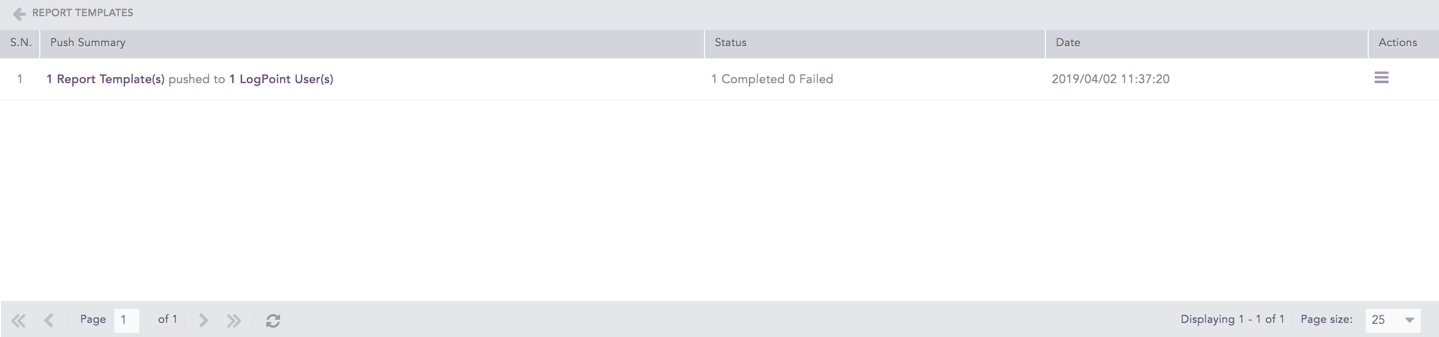
Push History
The Push History page lists the Push Summary, Status, Date, and Actions of all push attempts.
Click the Retry ( ) icon from the Actions column to retry the failed push attempt.
Click the Details ( ) icon in the Actions column to open Push Detail.

Push Detail
For failed push attempts:
Click the Retry () icon in the Actions column to retry individual failed push attempts.
Click the Details ( ) icon from the Actions column to view the error details about failed push attempts.
Go to Settings >> Logpoint Configuration >> Report Templates.
Select the report templates and click Export.
Note
When a report template is exported, the password set in the template is not exported with it. You need to create a new password for the exported template.
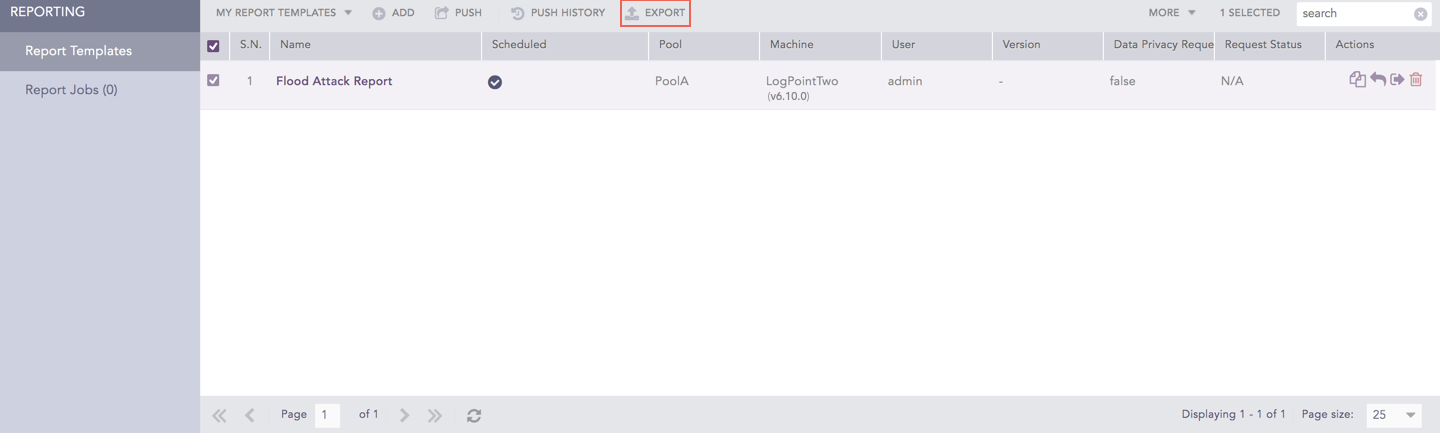
Export
The .pak file of the selected report templates is downloaded to your local machine.
Note
Once you download the .pak file to your local machine, you can upload it to any other Fabric-enabled Logpoint from the Analytics Packages.
Go to Settings >> Logpoint Configuration >> Report Templates.
Click the Clone ( ) icon from the Actions column for the report template.
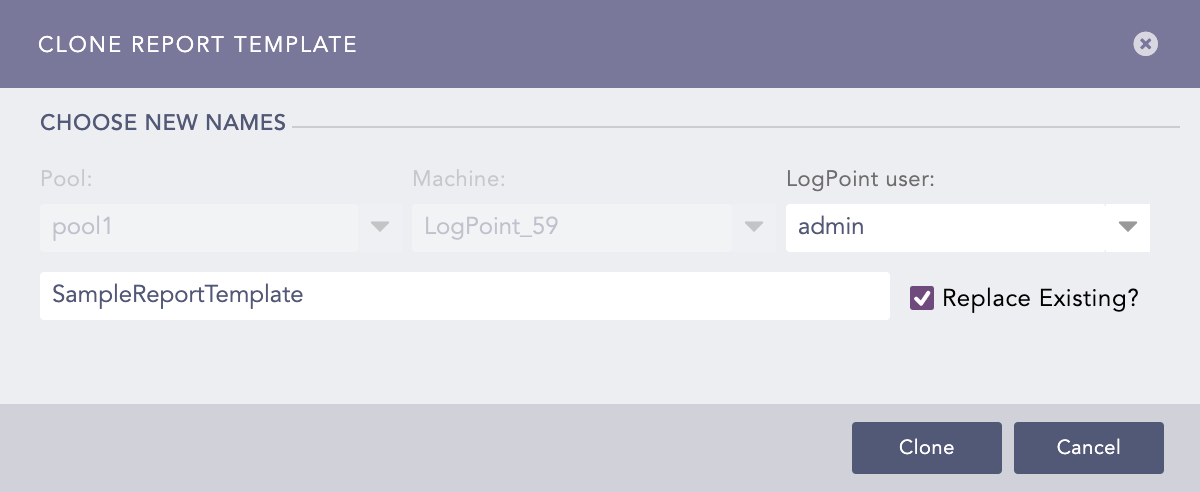
Clone Report Template
Select the Logpoint user from the drop-down. The Pool and Machine cannot be changed.
Enter a Name for the cloned report template.
Select Replace Existing? to replace an existing report template with a new one with the same name.
Click Clone.
Note
When a report template is cloned, the password set in the template is not cloned with it. You need to create a new password for the cloned template.
You can share a report template across all connected Logpoint users and give them the read, edit, or full permissions. Any changes made in the report templates are visible to all the shared users.
Each parameter in a shared report template is categorized into two types:
Global parameters can be changed only by the users with the Edit or Full permissions. Changes in the global parameters are reflected for all the users using the shared report template. The following parameters are global:
The name and the report layout of the report template.
The queries, query order, and query render type of the report template.
Anyone can change Personalized parameters because these parameters can only be viewed by the user who applied them. Personalized parameters are:
Scheduling configurations
Data privacy configurations in data privacy enabled systems.
Selected repos
Email and memory usage configuration for scheduled report jobs.
Template layout
Password
You cannot share a Used report template.
To share a report template:
Go to Settings >> Logpoint Configuration >> Report Templates.
Click the Share/Unshare icon from the Actions column for the report template.
Select the users groups for all the users you want to share the report templates.
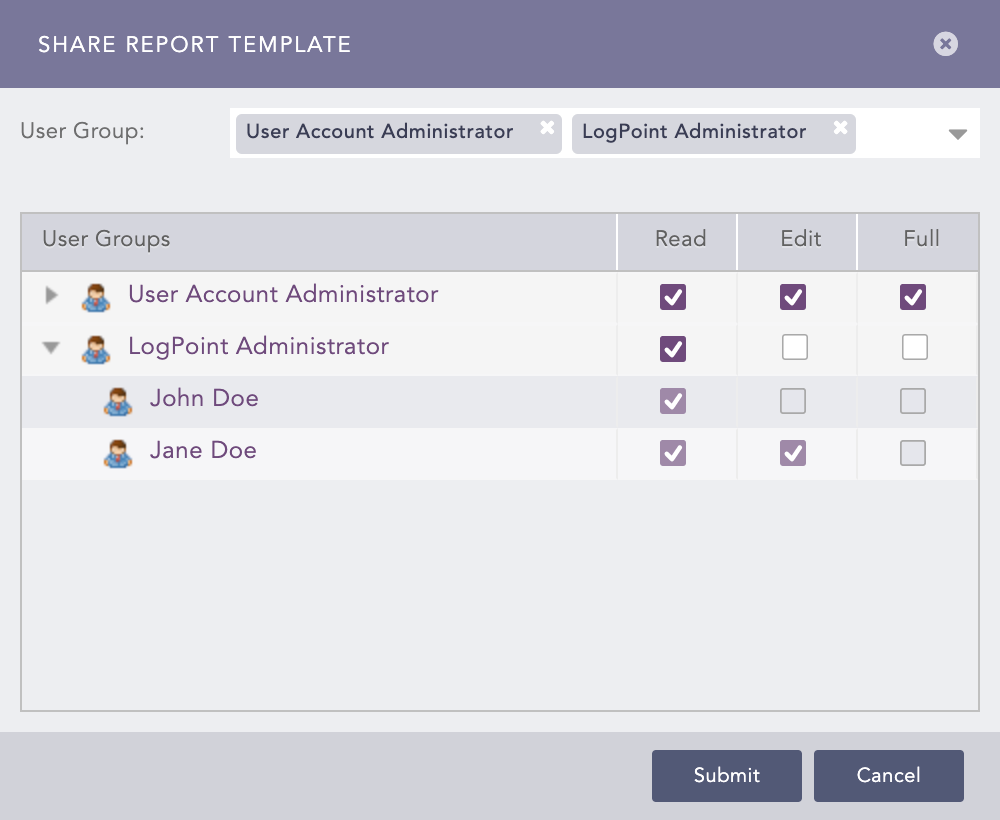
Providing Permissions for a Shared Report Template
Select the Read, Edit, or Full permissions for the users.
Click Submit.
You can delete the owner of the report template only from the Fabric-enabled Logpoint. If you delete the owner of the report template from the Logpoint system, Logpoint provides two options:
You can also delete the report template, making it unavailable to all users.
You can re-assign the report template to any other user. When you do that, existing configurations are deleted. The new owner will need to apply configuration themselves.
You can unshare a report template. In Share Report Template, deselect the user group permissions.
To view shared templates, click MY REPORT TEMPLATES and then SHARED REPORT TEMPLATES. Click on a template in the list to run a report, edit the template or share it with other users.
A report is run automatically at the time scheduled in the report template. You can also manually run the report at any time. All newly created report templates, included shared, used, and vendor, are listed in the Report Templates. To manually generate a report based on a template:
Go to Settings >> Logpoint Configuration >> Report Templates.
Click the Run ( ) icon from the Actions column.
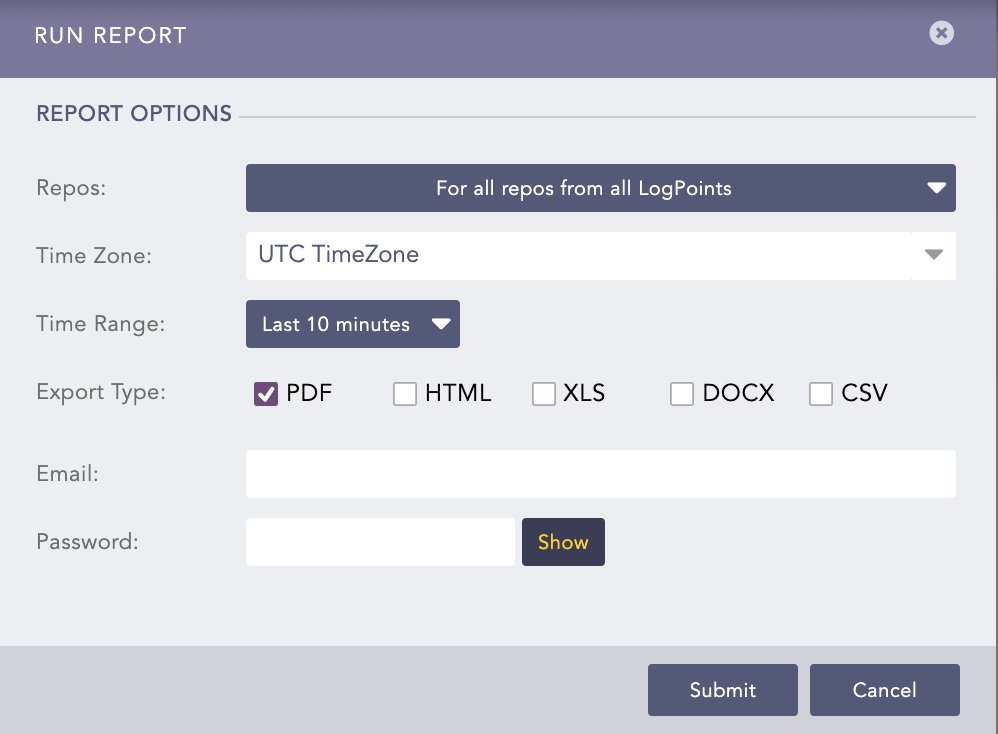
Run Report
Select the Repos from the drop-down.
Select the Time Zone.
Set the Time Range for which the report should be generated.
Select the Export Type, .PDF, .HTML, .XLS, .DOCX, and .CSV.
Enter Email address of the report’s recipient.
Enter Password to protect the report.
Note
Reports in formats PDF, XLS, DOCX, and CSV are password protected.
Click Submit.
Note
You can view ad hoc or recurring reports by clicking the Run () button inside the Template tab.
When you run a report manually, it does not tamper with the report’s scheduled time in any way.
Go to Settings >> Logpoint Configuration >> Report Templates.
Click the Delete (![]() ) icon from the Actions column for the report template.
) icon from the Actions column for the report template.
To delete multiple report templates, select all the ones you want to delete. Click the More drop-down and choose Delete Selected Report Templates.
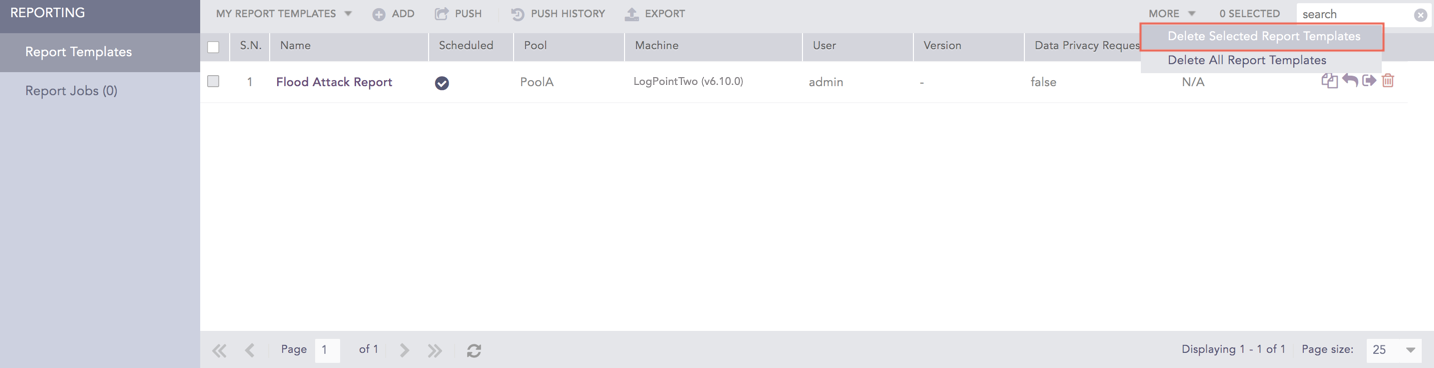
Delete Selected Report Templates
To delete all the report templates, click the More drop-down and choose Delete All Report Templates.
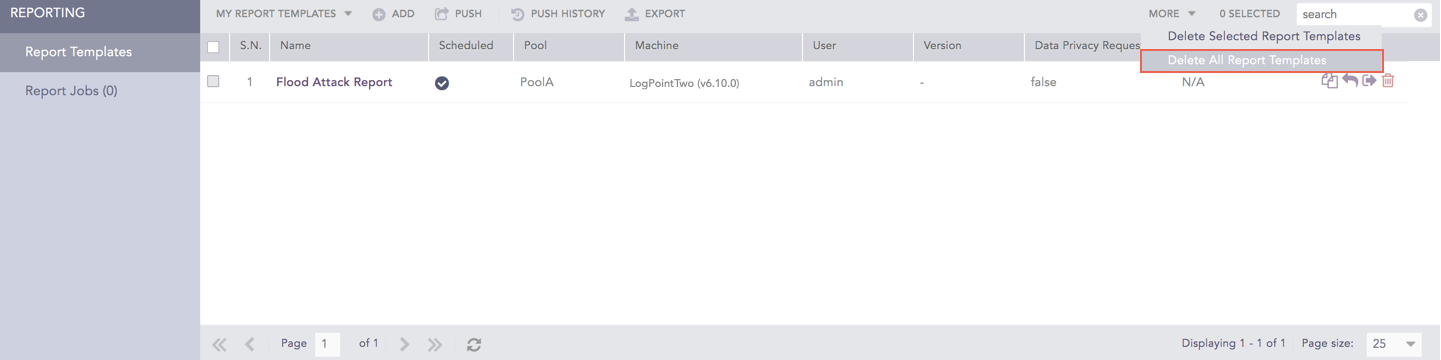
Delete All Report Templates
Click Yes.
There are four types:
My Report Templates: created by LPSM on behalf of Fabric-enabled Logpoint instances and Fabric-enabled Logpoint.
Used Report Templates: used by you.
Shared Report Templates: shared with others.
Vendor Report Templates: included with your Integrations.
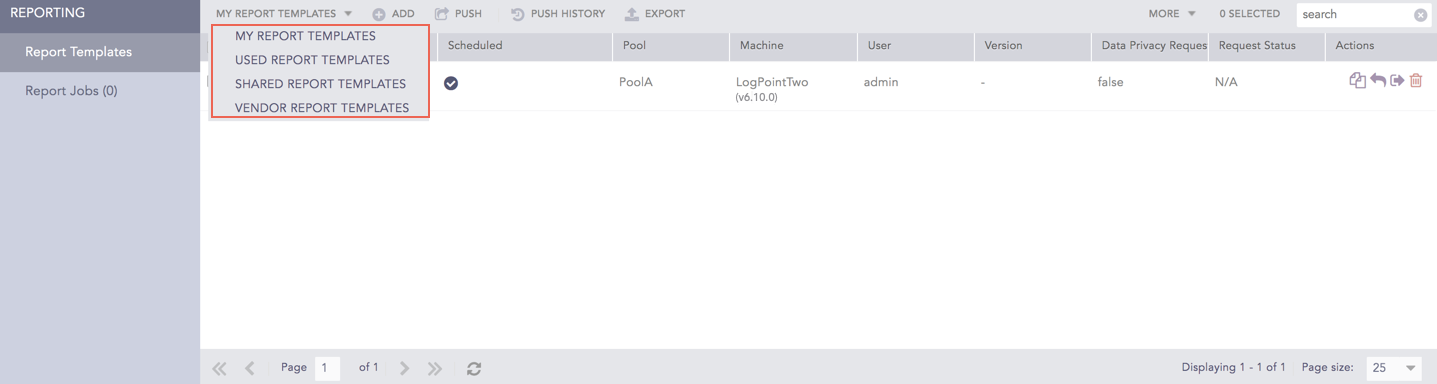
Category of Report Templates
You can click the Clone () icon from the Actions column to use the shared and vendor report templates. Enter a name for the clone and click enter. The report template is activated, and the clone appears under the My Report Templates option.
The reports currently generating are listed in Report Jobs along with their generated time, current status, pool name, Logpoint, Logpoint User. and potential remarks. After a report is done generating, it is not listed in Report Jobs. If the report failed, the reason for the failure is listed in Remarks.
Once the report is generated, it is no longer listed here but is pushed to the inbox.
This also lists the reports that have failed to generate along with the reasons for the failure. The reason for failure is displayed under Remarks.
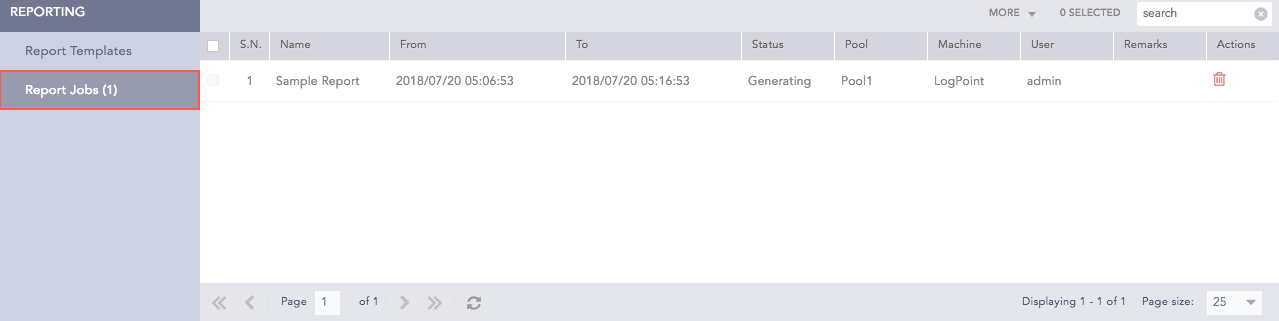
Report Jobs
You can subscribe to report templates from other Fabric-enabled, connected Logpoints. When you subscribe, you can view when report templates were used to generate reports. You can also view, monitor, and edit the generated reports.
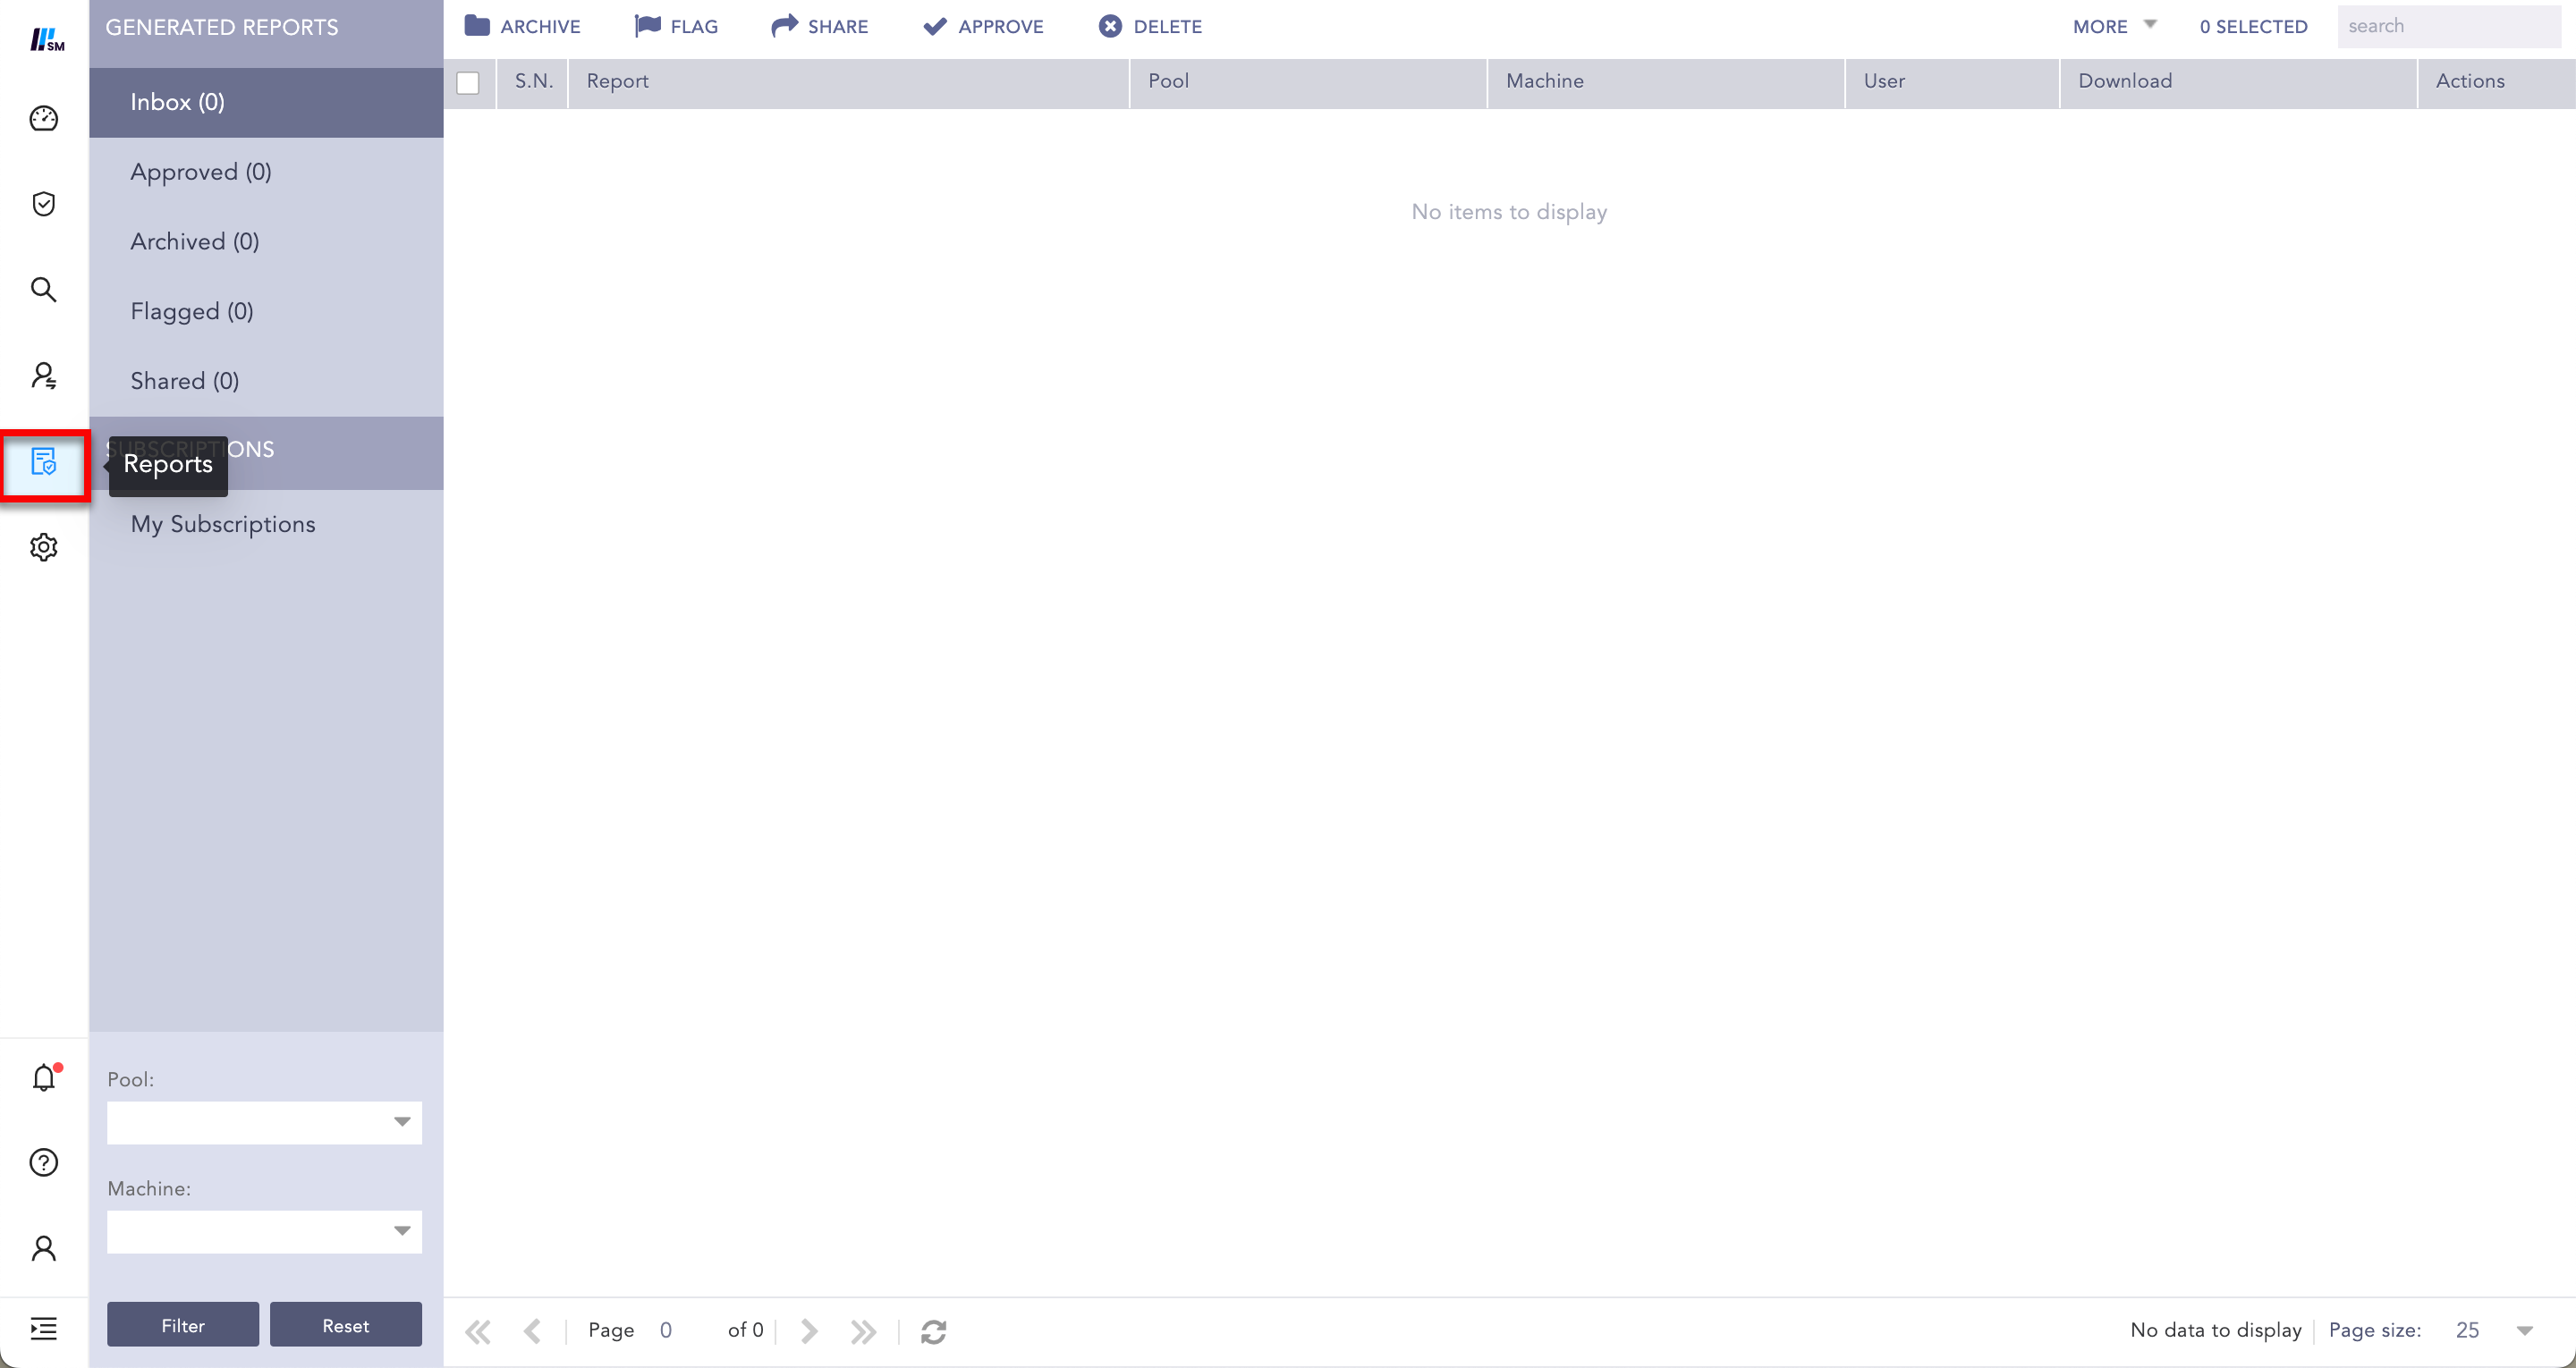
Report
To view reports for other Fabric-enabled Logpoints, you need to subscribe to the Report Templates.
Go to Report from the navigation bar.
Click My Subscriptions and Subscribe in Subscriptions.
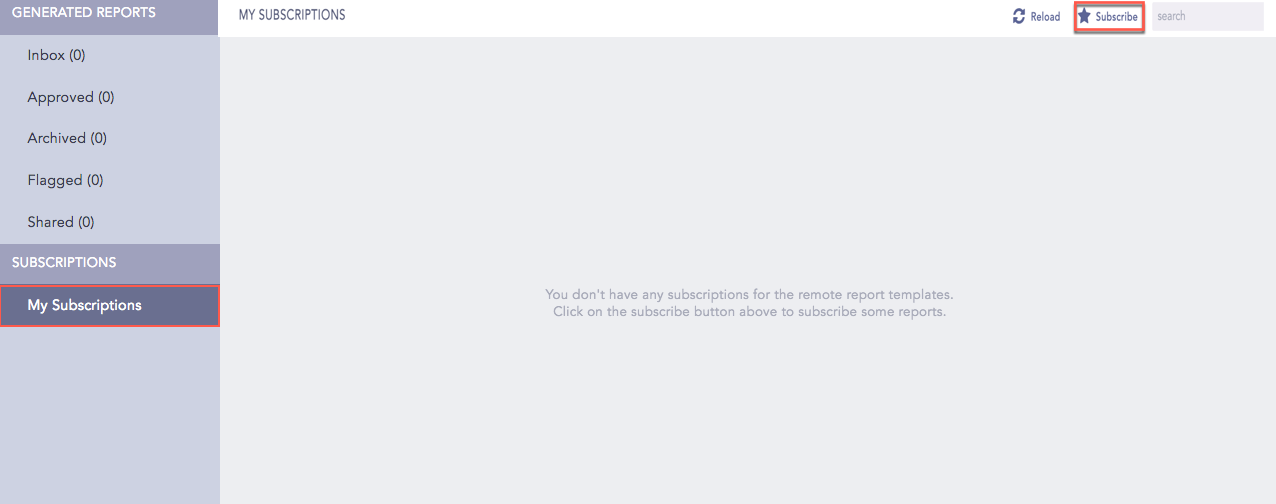
Subscribe
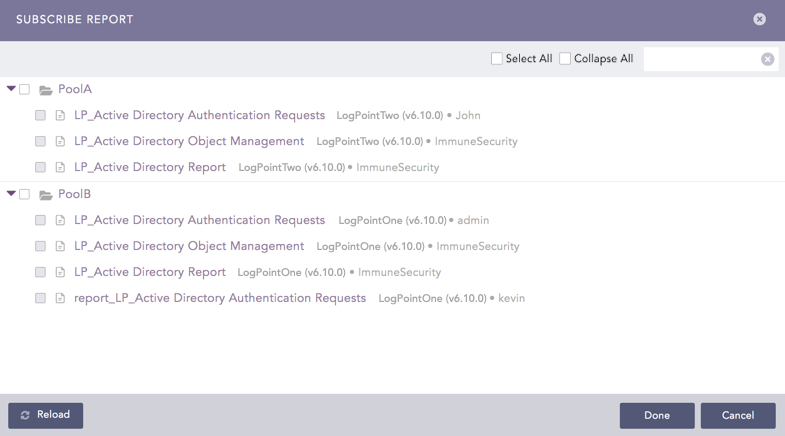
Subscribe Report
Subscribe Report lists all the existing report templates in Fabric-enabled Logpoints, categorizing them by their Logpoint Pool, the Logpoint names, and the user who created the report template.
Click Reload to refresh or to view the latest configuration and changes made to the report templates for the Fabric-enabled Logpoints.
If any Fabric-enabled Logpoint instances are down or unreachable, their corresponding subscribed Report templates are dimmed.
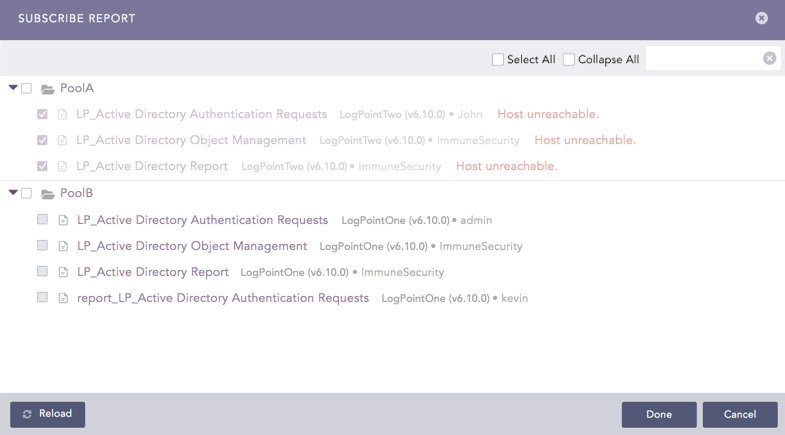
Report Templates grayed out
Note
You cannot select/deselect report templates in unreachable fabric-enabled Logpoint. However, if you select/deselect a pool, all report templates of the fabric-enabled Logpoints within that pool will appear selected/deselected, regardless of their availability.
Select the report templates of the relevant Logpoint Pools.
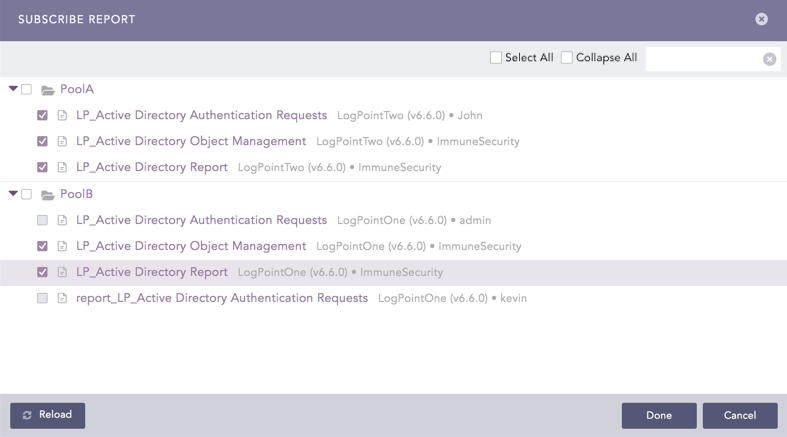
Selecting Report Templates
Click Save.
After successfully subscribing to reports, they are listed along with their templates.
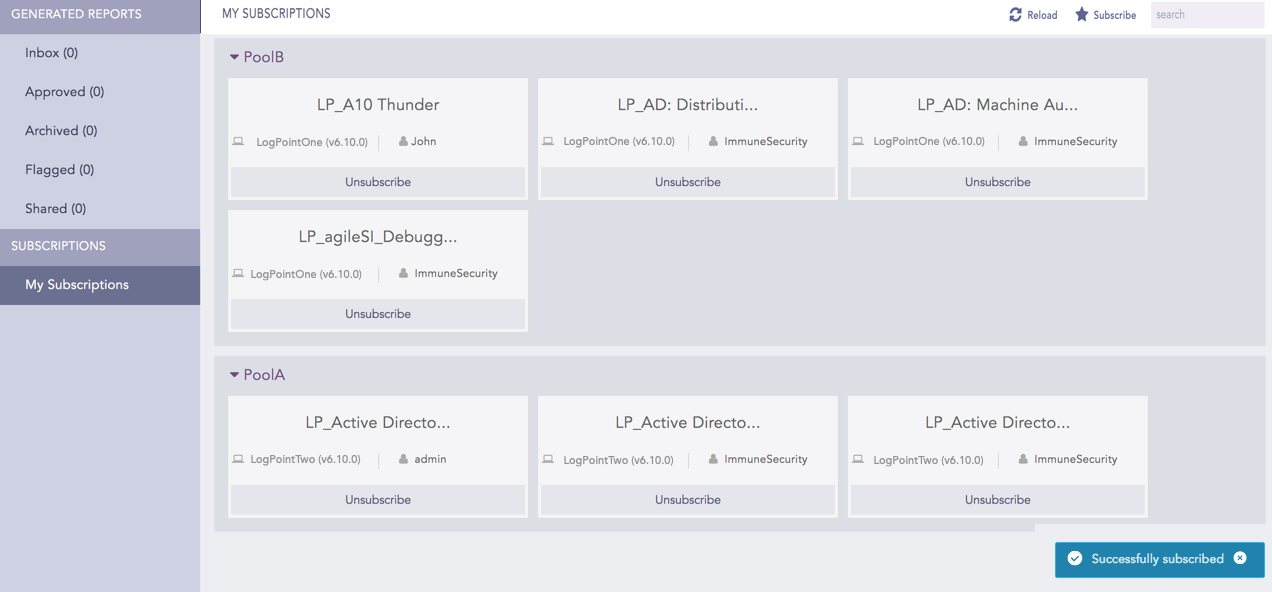
Subscribed Report Templates
If any of the Fabric-enabled Logpoint instances is down or unreachable, its corresponding subscribed report templates are dimmed.
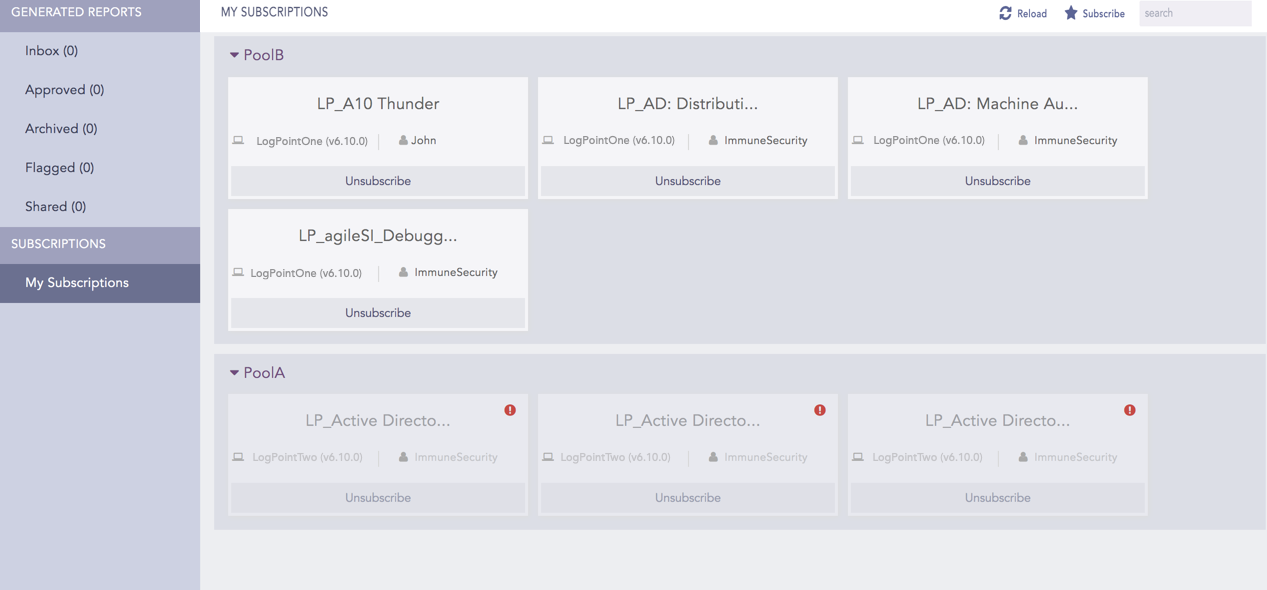
Dimmed Report Templates
Note
When you subscribe to a pool, you are automatically subscribed to any new report templates added after you started subscribing.
Go to Report >> My Subscriptions from the navigation bar.
Click the Unsubscribe button of the report template.
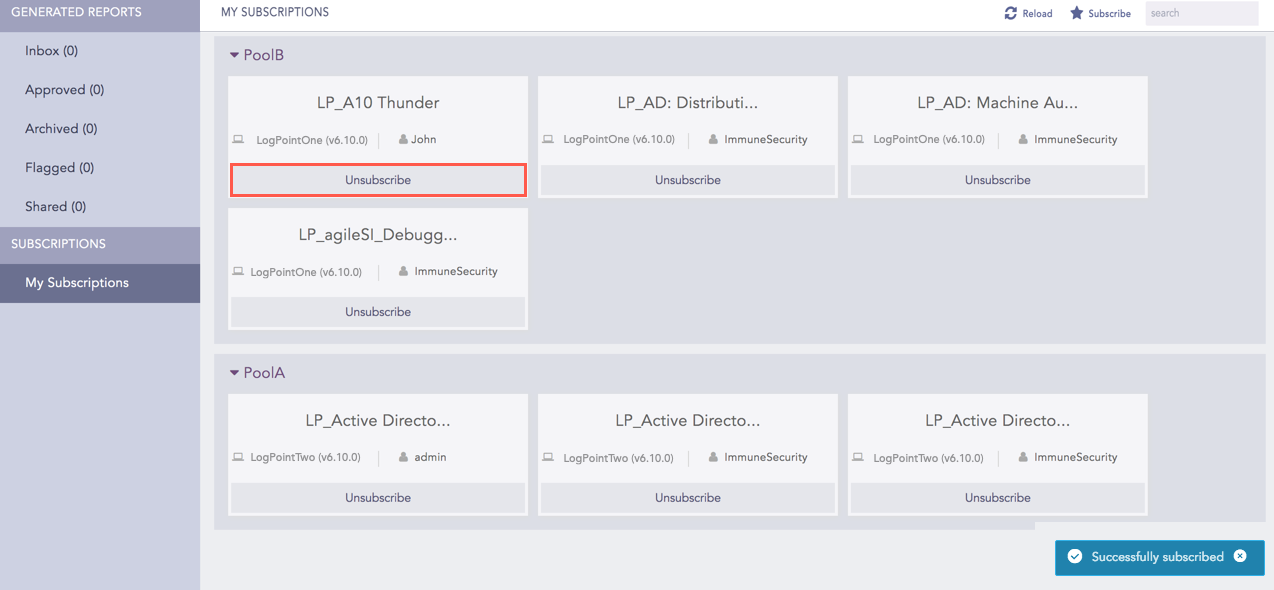
Unsubscribe Report templates
To unsubscribe the report templates in bulk, deselect the relevant report templates in the Subscribe Report.
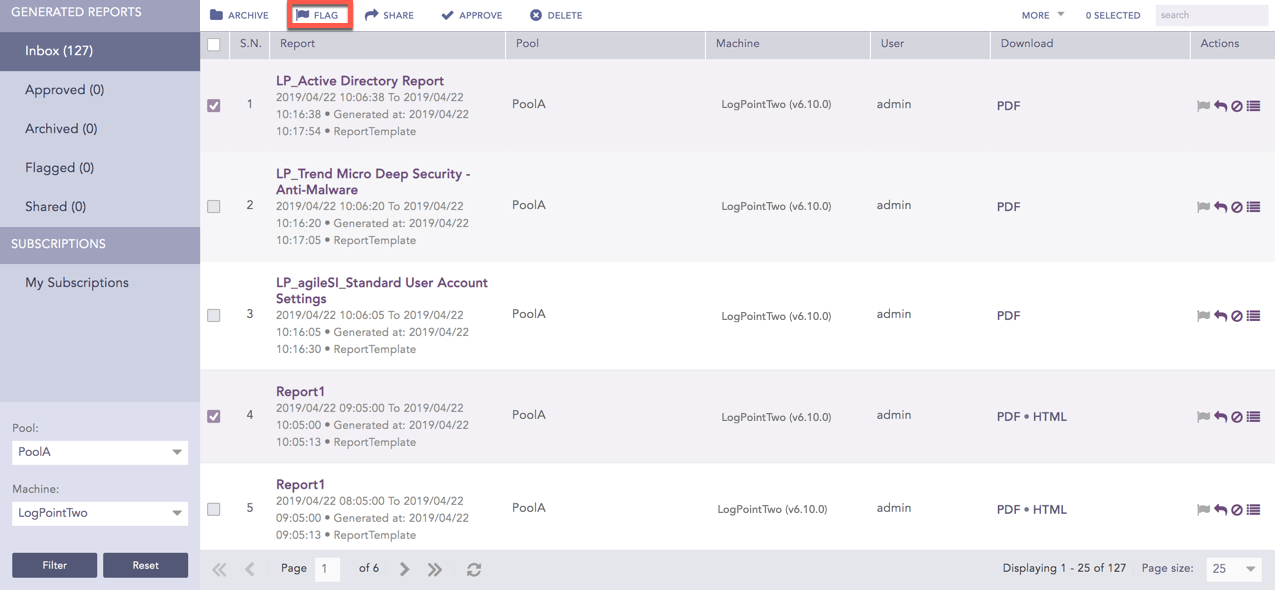
You can archive, flag, share, approve, and delete reports. The archived, flagged, approved, and shared reports are populated respectively in the Archived, Flagged, Approved, and Shared .
Inbox contains all the reports generated for a subscribed report template of a Fabric-enabled Logpoint.
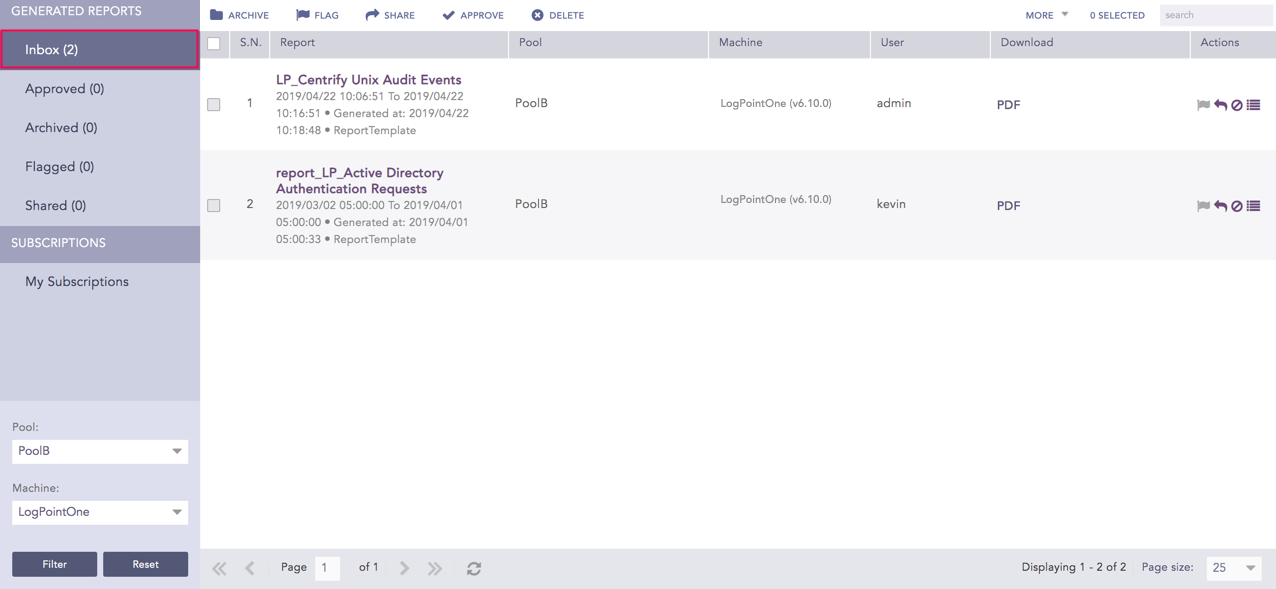
Inbox
If you have a large number of reports, it’s helpful to organize them. One way to do that is to move reports to Approved after they are.
Go to Reports >> Inbox from the navigation bar.
Check the reports that you want to approve and click Approve.

Approve
You can also approve the required report by clicking the Approve ( ) icon from the Actions column.
Generated reports can be archived for future reference. This also helps to remove inbox clutter.
Go to Reports >> Inbox from the navigation bar.
Check the reports that you want to archive and click Archive.
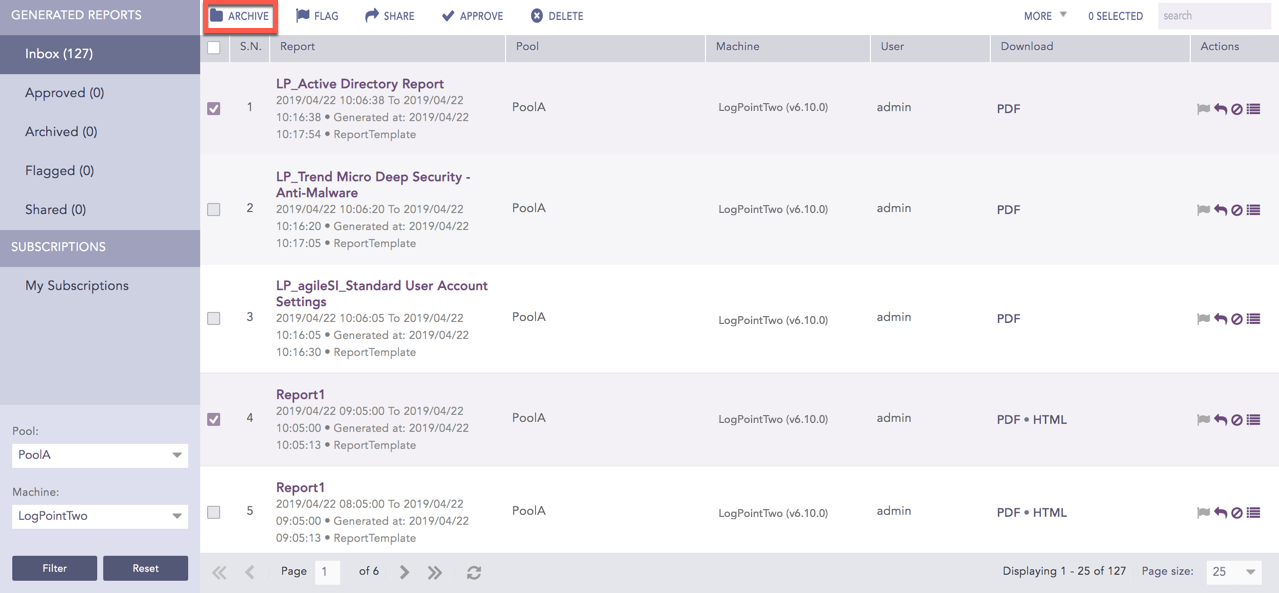
Archive
You can check the archived reports from the Archived and click Move to Inbox to return the archived reports to the Inbox.
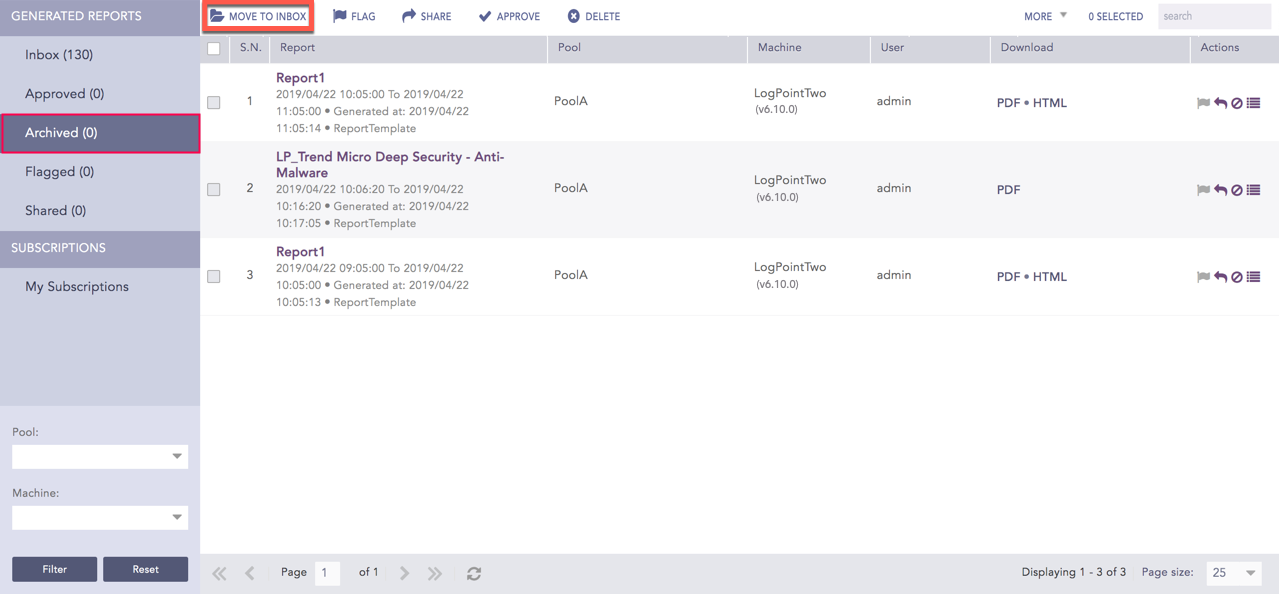
Move to Inbox
Go to Reports >> Inbox from the navigation bar.
Check the reports that you want to delete and click Delete.

Delete
Go to Reports >> Inbox from the navigation bar.
Click the Activities ( ) in the Actions column of the report. You can add comments if you want to.
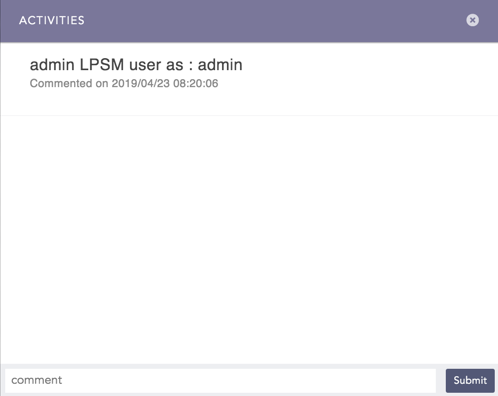
Activities
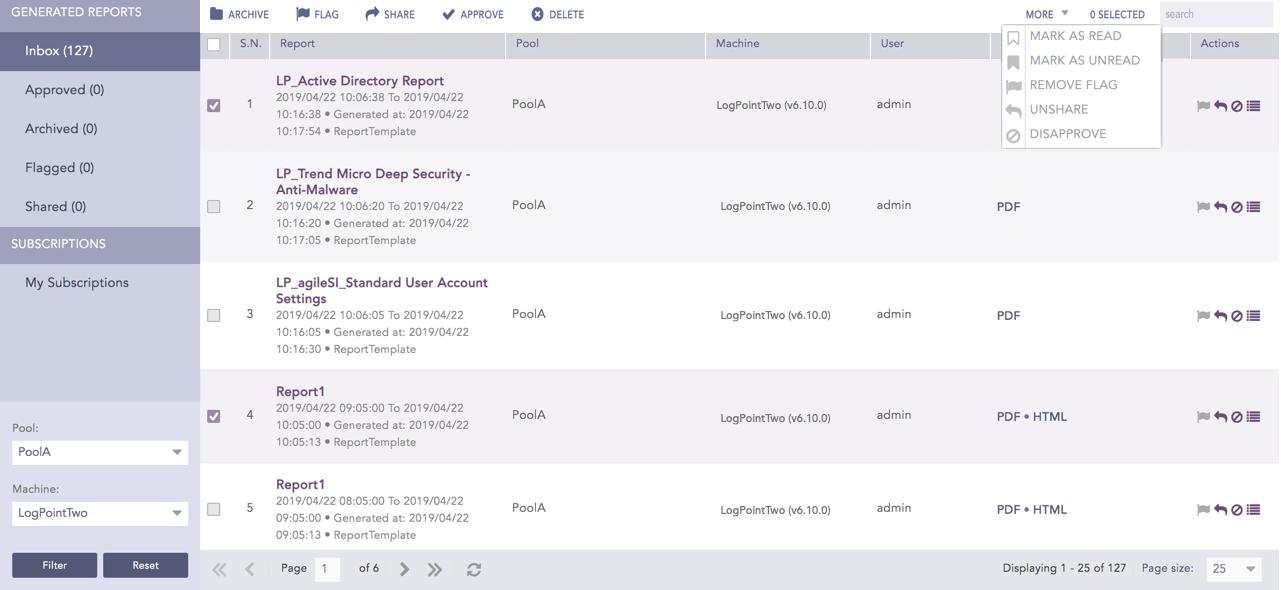
You can apply or modify a report’s properties. Click the More drop-down. Select or deselect:
Mark as read
Mark as unread
Remove flag
Unshare
Disapprove
More
The LPSM reports can be filtered on the basis of Logpoint Pools and Machines.

Report Filters
The Pool drop-down lists all the Logpoint pools created in an LPSM.
The Machine drop-down lists all the Logpoint machines within the selected Logpoint pool.
The generated reports that are approved, archived, flagged, and shared can be filtered on the basis of the Fabric-enabled Logpoint instances of the pool.
 ) icon from the Actions column.
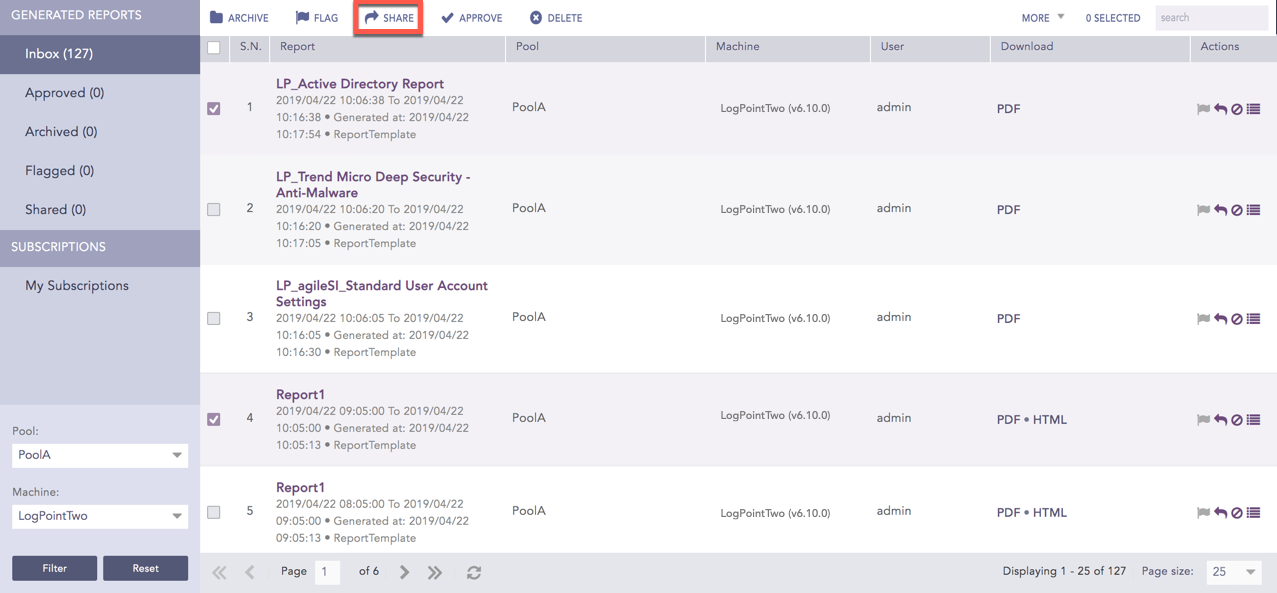
 ) icon from the Actions column.